After we got the
electric pizza oven “Pizzaiolo”, we have been making home-made Neapolitan-style pizzas regularly. We usually make two kinds of pizza; one is the classic
Margherita another is
marinated baby artichokes with olives. Since we do not finish two pizzas in one meal, we have left-overs and enjoy one piece each as an appetizer in subsequent days. The left-over pizza heats up nicely in the toaster oven. Interestingly, when freshly made, the crust is Neapolitan-style. It is chewy but not “crispy”. After being re-heated in the toaster oven, the crust becomes very crispy like a New York-style pizza.
We decided that we should get out of our pizza rut and make some other kinds of pizza. We used to make
caramelized onion pizza キャラメライズドオニオンピザ in the oven long before we got the ‘Pizzaiolo’. But we have not made it recently. So we settled on making that pizza as one of the two we made recently one evening. This is a really tasty pizza. Creamy goat cheese and pine nuts added nice texture and taste. The caramelized onions added nice sweetness. The Neapolitan-style crust goes well with this topping.
Ingredients (for one 9 inch pizza)
For caramelized onion
1 large onion, halved and sliced
2 tbs olive oil
2 tsp sugar
For crust (makes enough dough for four 9 inch pizzas)
3 1/2 cups “00” flour (I used 00 flour I got from King-Arthur’s) or bread flour
1 cup warm water (more or less)
2 tsp active years
2 tsp salt
2 tbs olive oil (optional)
For topping (amounts are arbitrary)
10 thinly sliced pieces of mozzarella cheese (enough to cover the crust leaving the rim)
1/4 to 1/2 cup grated
reggiano parmiziano1 inch log of fresh goat cheese crumbled
1/4 cup roasted pine nuts
Garlic-infused olive oil to brush on the pizza crust. (I make this oil with 4 cloves of crushed garlic in 1/4 cup olive oil. I brush some this oil on whatever pizza I am making that night)
salt and pepper
Directions:
Preheat the pizza oven to “Neapolitan-pizza” temperature (about 750F)
For caramelized onions
Coat the onion slices with the sugar (to facilitate caramelization),
Add the oil in a large skillet or frying pan. Sauté until nicely browned (do not constantly stir, leave for a few minutes until the bottom browns and then stir)
Set aside
For crust
Add all ingredients except for the water and oil to the food processor fitted with a dough blade. Turn on low speed to mix dry ingredients. If using oil, stream it in. Add the water in a thin stream until a dough ball forms above the blade without any dry ingredients left on the bottom. Let it sit for 5 minutes. Turn the food processor on low speed for a few minutes for a second kneading. Turn the dough out onto a lightly floured board and hand knead it briefly shaping it into a ball. In a large enough mixing bowl, add a small amount of olive oil, add the dough ball and turn to coat all its surface. Cover the bowl with plastic wrap. Let it rise for 1 hour or until doubled (I use a "
Brod & Taylor Collapsible electric bread proofer“ set at 85 degrees).
Turn the dough onto the kneading board. Deflate and divide the dough into 4 pieces. (I weigh the dough to make sure the pieces are equal in size). Knead the dough to make a tight ball. Coat the surface of the each dough ball with olive oil and place in a small Ziploc bag. Squeeze out any excess air, seal the bag and refrigerate overnight. (It can be refrigerated up to a few days. If I haven’t used it by then I freeze it.)
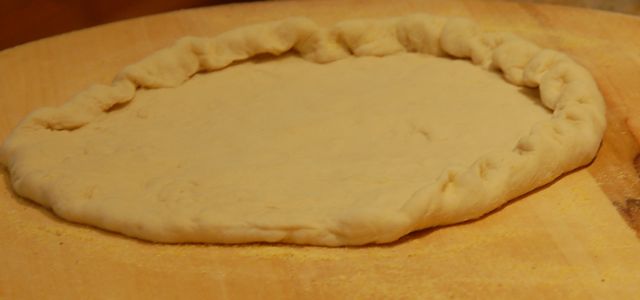
Take out the dough one hour before baking. Form the dough into a 9 inch pizza-shape (by stretching it using two fists under the dough leaving the rim intact)
Assembly
On a wooden pizza peel, sparingly spread cornmeal. (The cornmeal acts like a layer of ball bearings under the pizza dough making it easier to slide the pizza dough off the peel onto the baking stone)
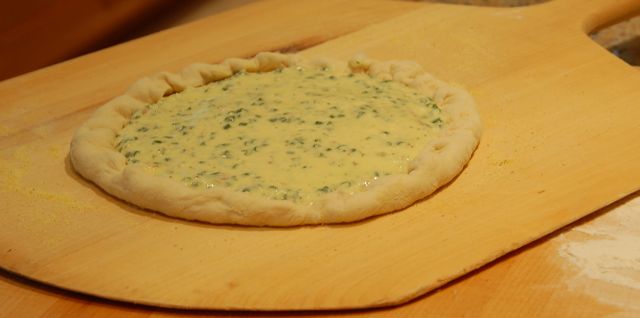
Place the prepared pizza dough on the peel over the cornmeal. Paint the surface of the dough with the garlic infused oil along with some of the crushed garlic in the oil. Use the mozzarella cheese to cover the dough except for the rim. Spread half of the Parmesan over the mozzarella, then spread on the onion. Add the pine nuts. Sprinkle on the rest of the Parmesan, and distribute the small chunks of goat cheese.
To bake
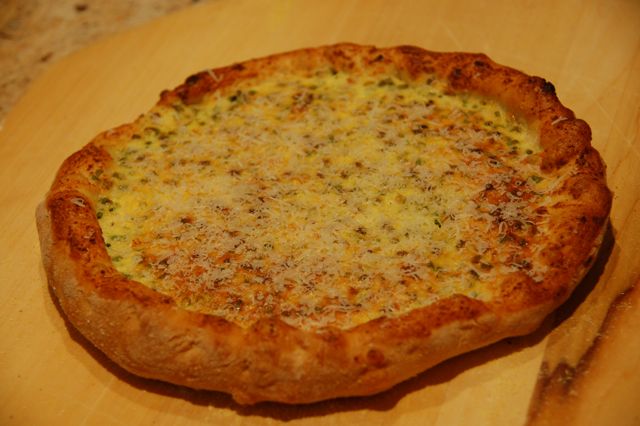
Slide the pizza onto the pizza stone, close the door and press the timer (2 minutes)
When done take it out and paint the rim with the garlic infused olive oil.
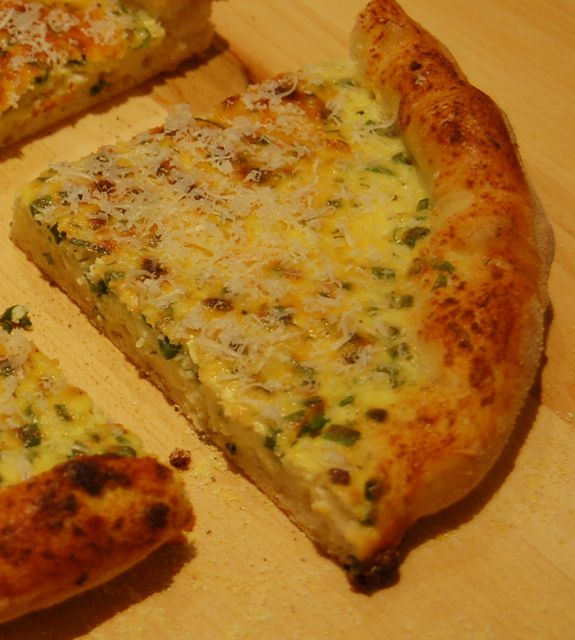
The pizza oven creates perfect leopard spots on the bottom of the crust and nice charred rim on the top. The caramelized onion gives a nice sweet flavor. The creamy texture of the goat cheese is wonderful. We really like this pizza.