Because of the olive oil, the cake is very moist and nice alomond flavor coming from both the flour and the almond essence. Since this is not too sweet, perfect for breakfast.

Ingredients
1 1/4 cups firmly packed almond flour
1/2 cup AP flour
1 tsp baking powder
Pinch of salt
1/2 cup + 1 1/2 tsp extra-virgin olive oil (medium quality is OK)
1 cup sugar
4 large eggs at room temperature
2 tsp vanilla extract
>1 tsp almond extract (optional)
Directions
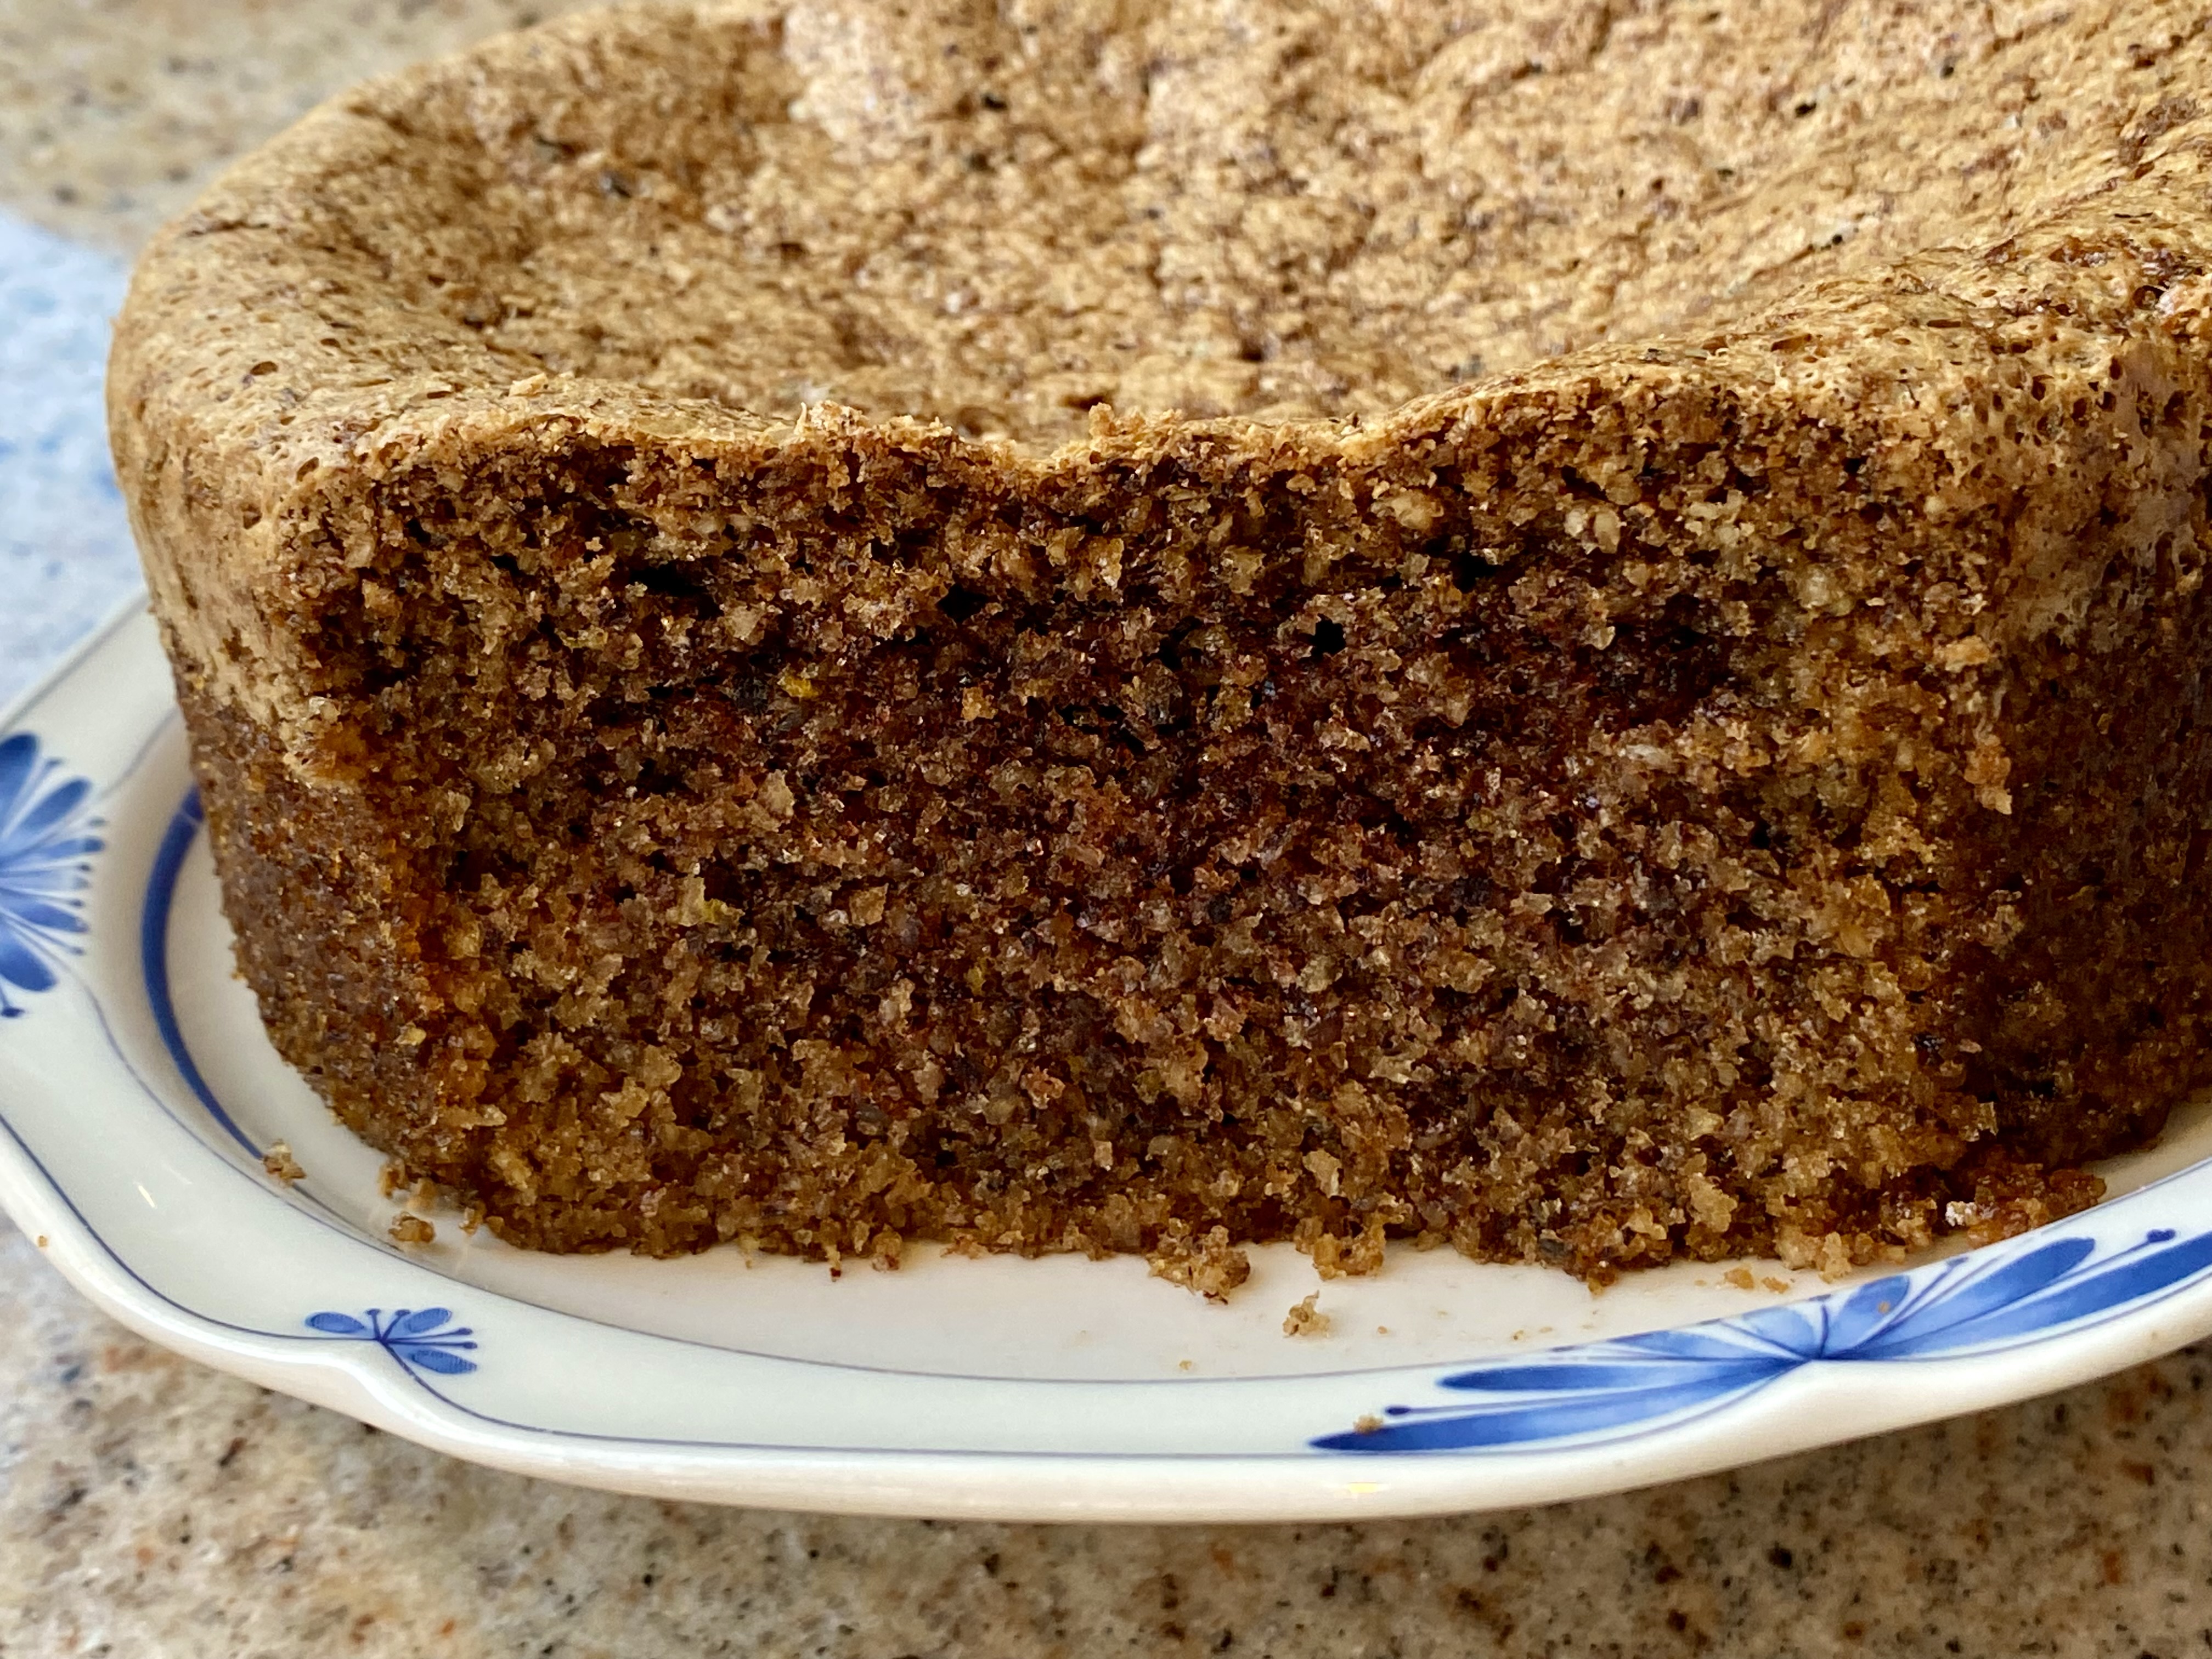
Preheat oven to 350°F. Grease a 20 cm/8" springform pan with olive oil then line with baking paper (parchment paper), then grease the paper. In a medium bowl, mix the almond flour, AP flour, baking powder, and salt. In a large bowl, beat the olive oil, eggs and sugar for 2 to 3 minutes on speed 7 or 8 until it becomes pale and thick (like pouring cream or runny mayonnaise). Add vanilla and almond extract beat on speed one for 10 seconds. Add the Dry ingredients and mix in gently using a rubber spatula. Pour the batter into the prepared pan and bake for 45 minutes. It will puff up dramatically in the oven but it collapses as it cools. Remove from the oven and allow the cake to fully cool in the pan before releasing from the springform pan. This is a rustic cake that has higher edges and a flatter centre.
This is nice variation on the theme of breads made with exotic flours. This has a very moist tender texture and a nice flavor from the combination of almonds and olive oil. (They go surprisingly well together).