Tuesday, February 28, 2023

Black (Pumpernickel) Bread 黒パン

This is my wife’s baking project. This one is called “black bread” but it is a type of pumpernickel bread. The recipe came from the cookbook “Beard on Bread”. One of the reasons she decided to bake this is that she discovered that both the rye and pumpernickel flours she kept in the freezer had a best use by date of 2013 (We are now in 2023, 10 years past the best use date). Even kept frozen all this time, she decided they were past their prime and we ordered rye and pumpernickel* flours from King-Arthur. Once the new bags of flour arrived she couldn’t resist making some rye/pumpernickel bread. (Also, to assure she made something with them before they passed the “best used by” date.) This is a great and robust bread. She added raisins since she likes raisins in a bread.

*I was not sure about the difference between rye and pumpernickel flours. My wife explained it to me that it was equivalent to the difference between white wheat and whole wheat flour, i.e., pumpernickel flour include the husks and germs.


Ingredients (makes two loaves)
3/8 cup cornmeal
1 3/4 cup water (I used whey because I had it. Buttermilk could also be used)
1 tbs. Butter
2 tsp. Salt
3 tbs brown sugar
2 tsp. Caraway seeds
1 tbs. Unsweetened cocoa
1 tbs. Instant coffee
2 packages active dry yeast
2 cups rye (dark) flour
1 cup whole wheat flour
2 cups AP flour
1 cup raisins (optional)
Additional flour for kneading
1 egg white beaten

Directions:
Add the cornmeal to 3/4 cup cold water and mix well. Meanwhile heat the rest of the water to boiling, add the cornmeal mixture and stir until it thickens. Then, add the butter through instant coffee. Cool to room temperature. Add the dry ingredients (yeast through AP flour) to the bowl of a stand mixer. Add the cooled cornmeal mixture. Mix until a smooth dough forms. (We found we had to add more liquid because the dough was very dry. Even with the addition of the extra liquid in the end did not use all the flour.)
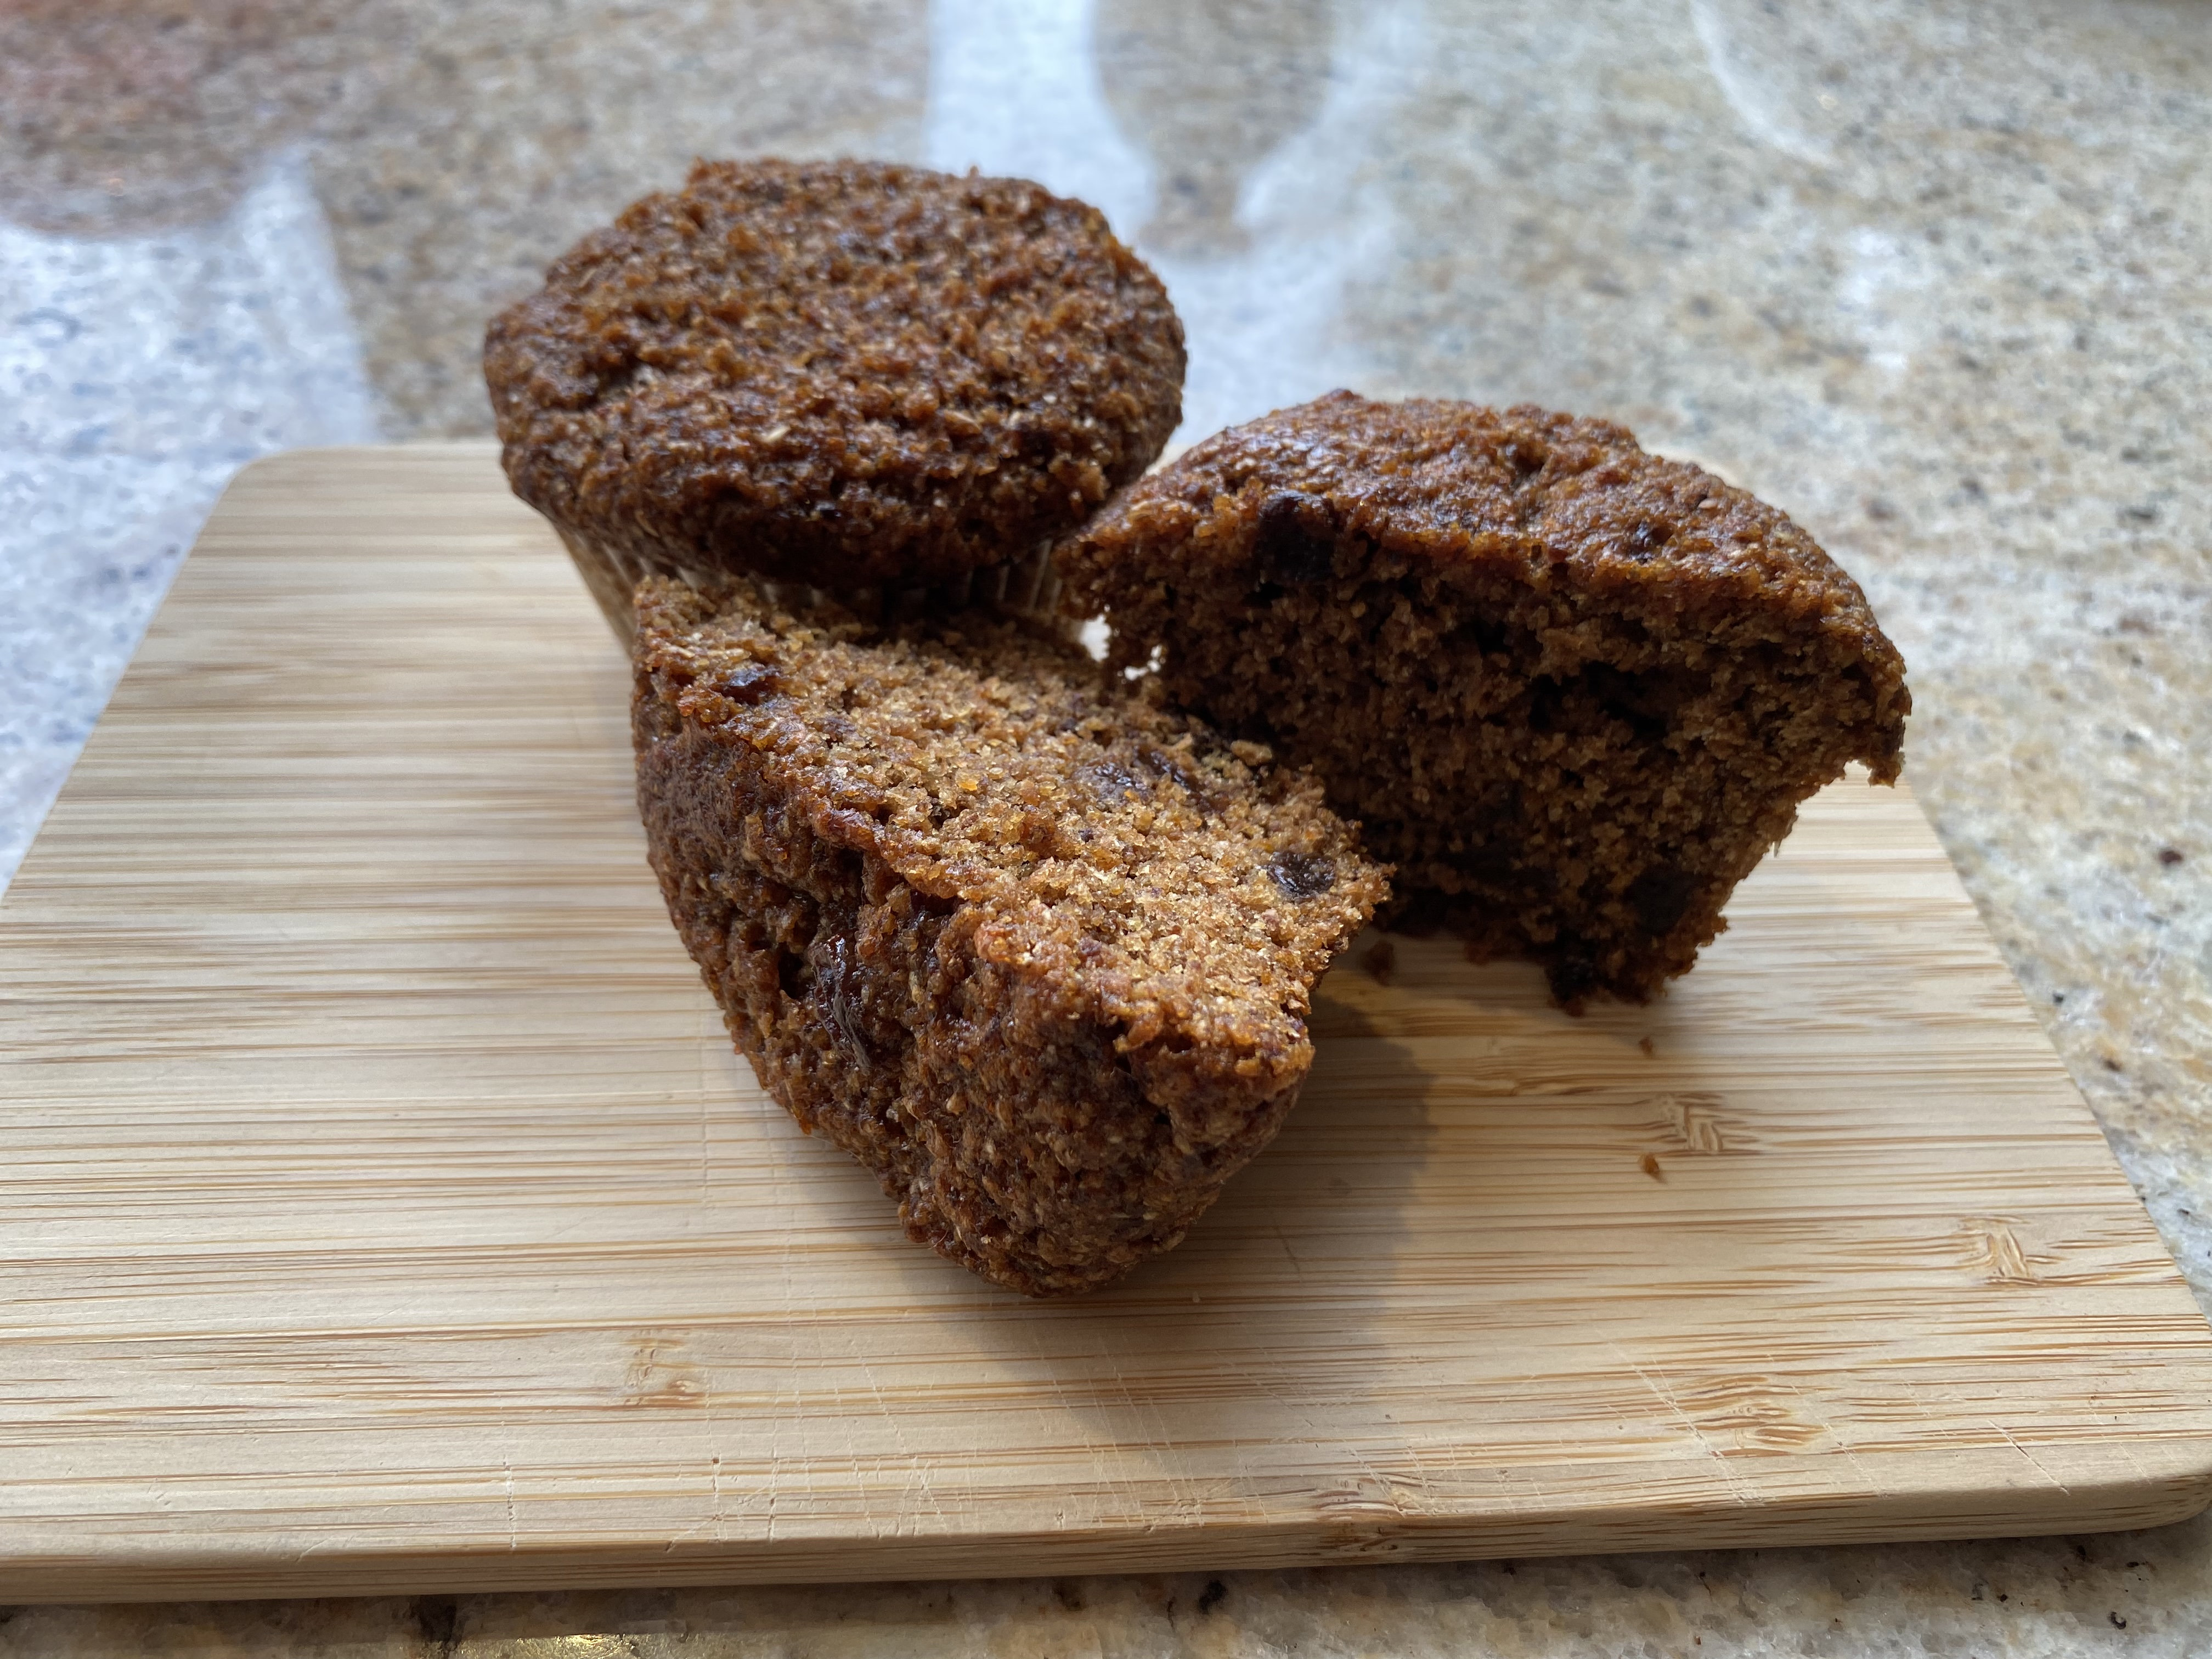
Form into a ball and put in a bowl with a little vegetable oil. Coat the ball with the oil. Put in the proofing box until doubled in size. Punch down the dough and form into two loaves and put them in well buttered bread pans. Put back in proofer until they almost double in size. Bake in a 375 degree oven for 50 to 60 minutes or until bread taps hollow. (Original recipe says, ‘if you have doubts about whether it is done, let it bake longer. This loaf is better a little overdone than underdone.’) The next picture shows the loafs just as they came out of the oven.


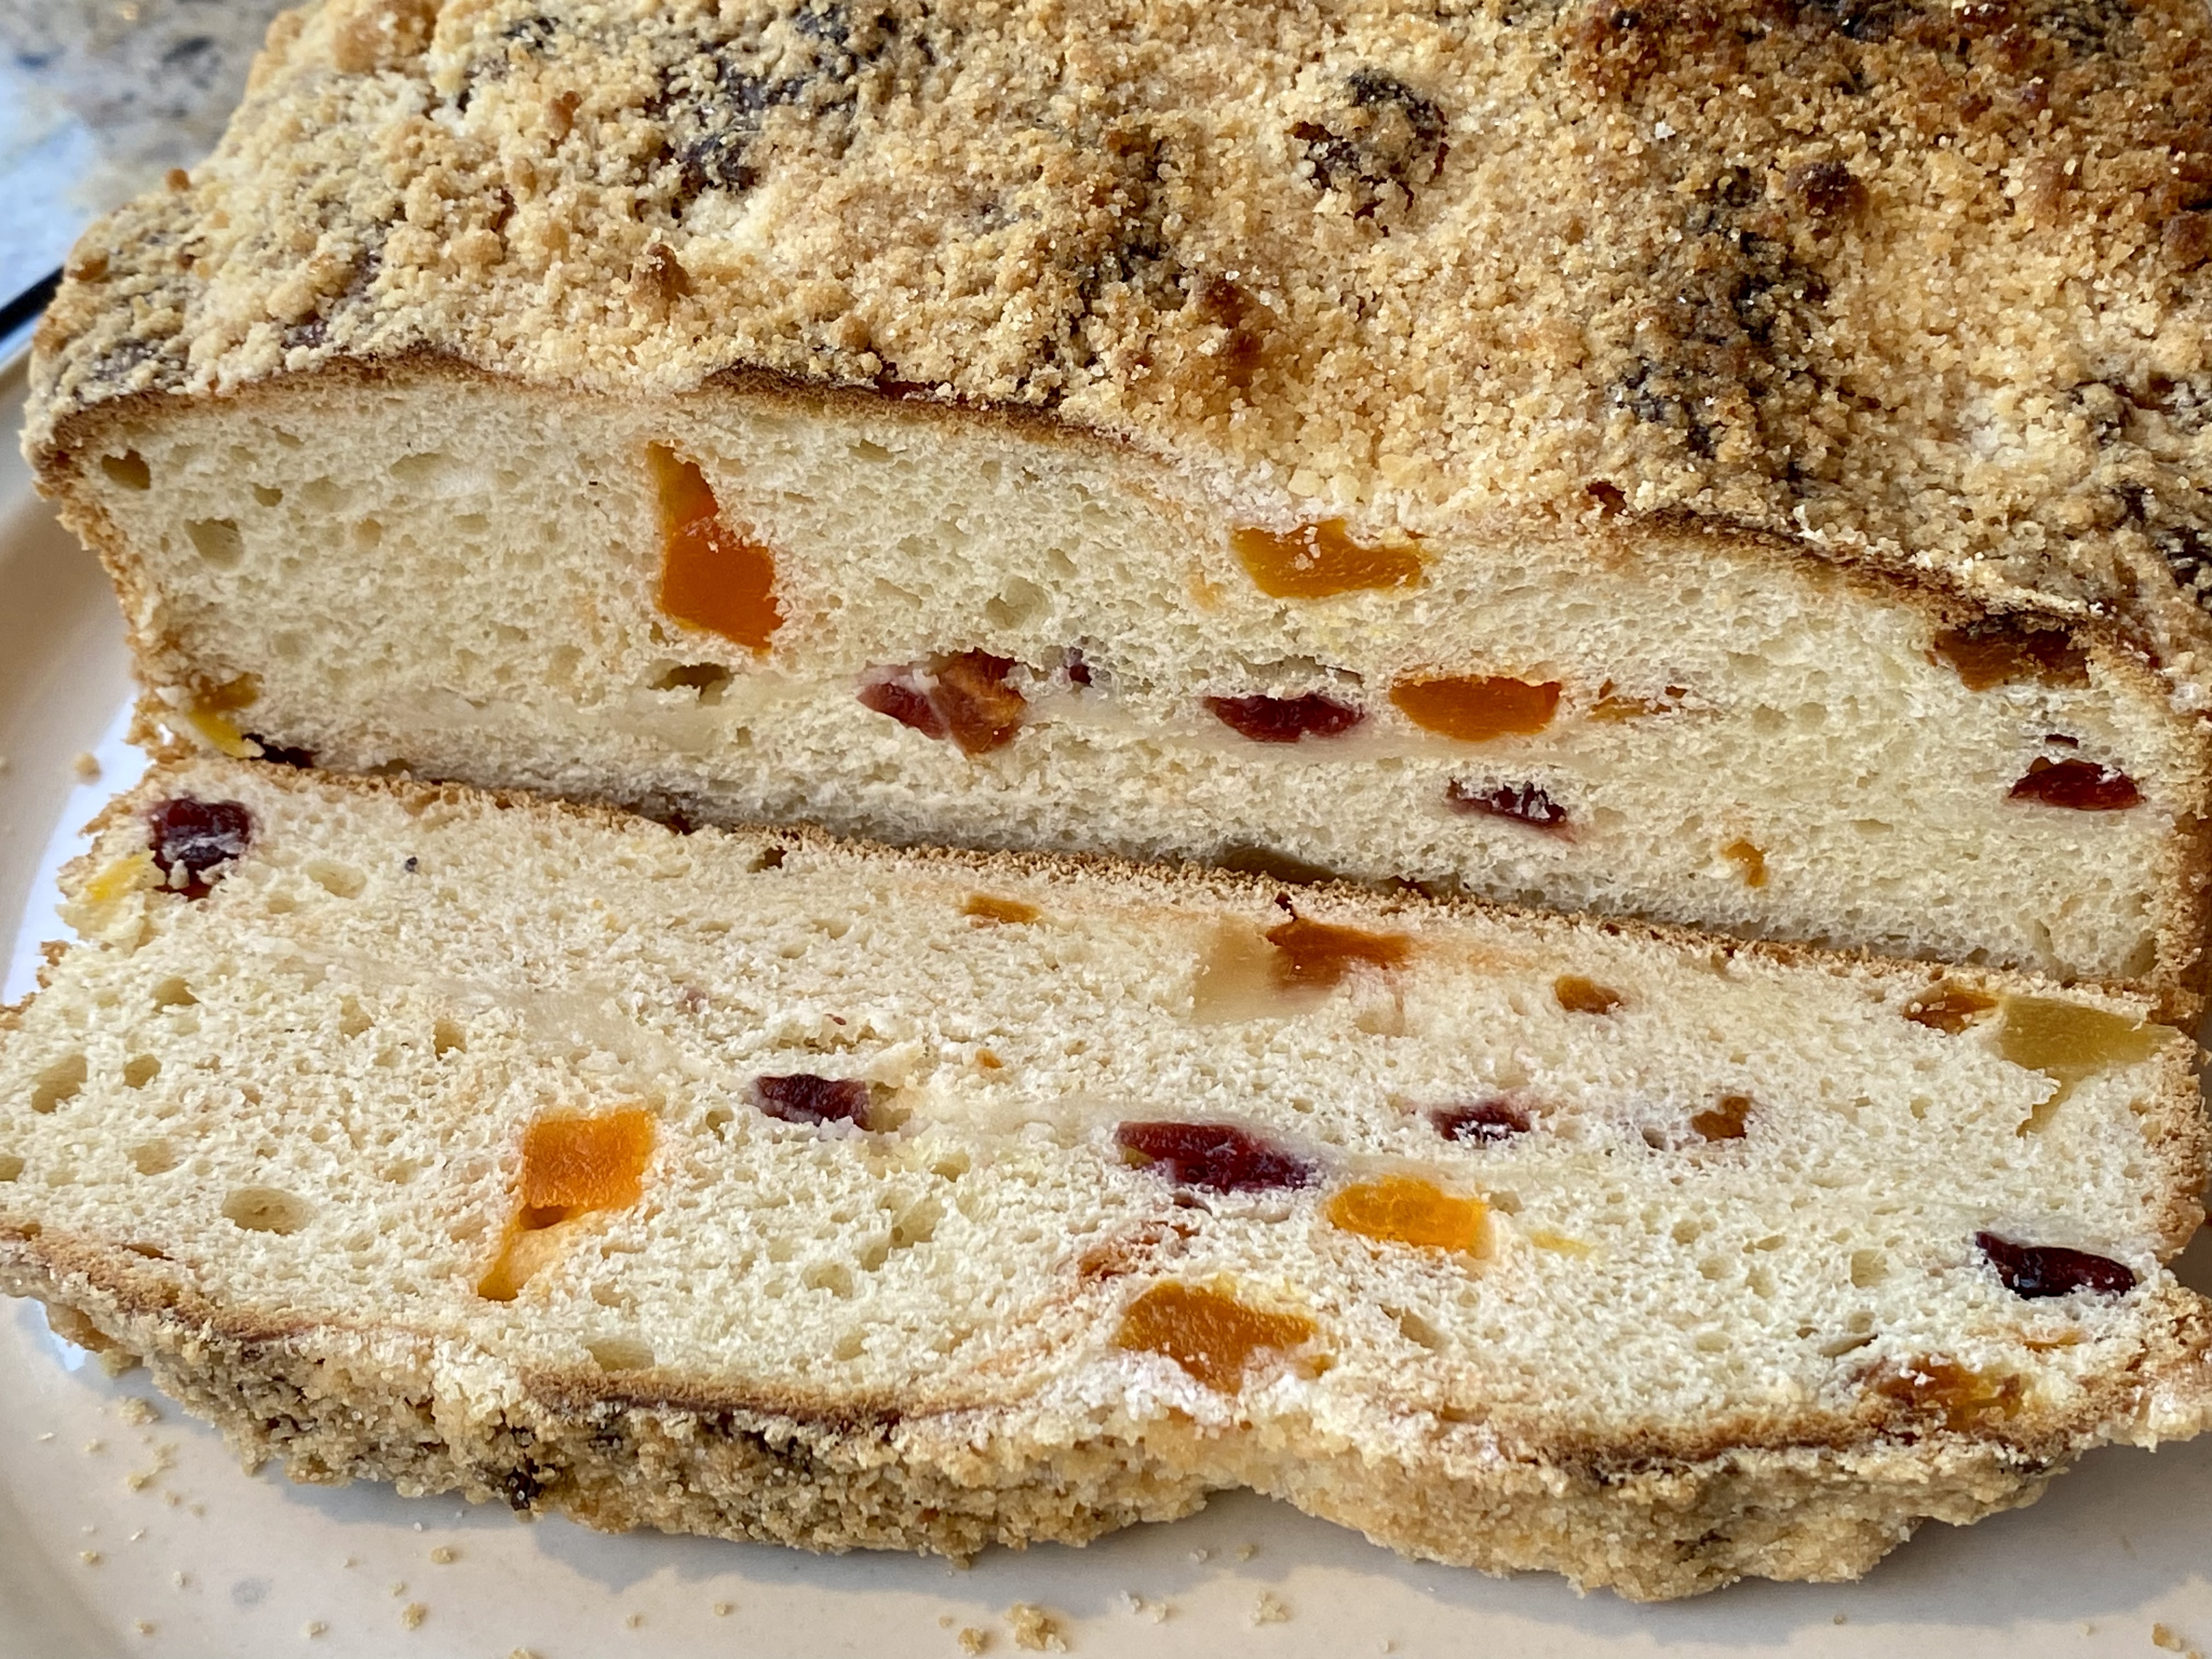
This is a very dense bread. Nonetheless the texture is very moist and soft. It has a very complex flavor. Despite all the ingredients that went into it no one stands out; they all meld together for a richly flavored result. My wife served a slice lightly toasted with honey butter and it was very good. This is a great pumpernickel bread.

Saturday, February 25, 2023

Chawanmushi with Wood Ear and Enoki Mushroom 新鮮キクラゲとエノキ茶碗蒸し

This is not a new dish just a variation on an established one but the variation came out rather nicely. Since we received fresh wood ear and enoki mushrooms 木耳、榎茸 some days ago when we got some groceries delivered from the Asian grocery store “weee”, that we tried for the first time,  I needed to use up the mushrooms. I decide to try this combination in chawanmushi 茶碗蒸し. I served this cold and topped it with ikura slamon roe and strips of nori seaweed.


The picture below is before I put on the topping. You can see a piece of shrimp, as well as the wood ear and enoki mushrooms.


I made this exactly as before (3 eggs which is about 150ml and 450ml seasoned dashi broth). Steamed on high for 3 minutes and low for 30 minutes. It came out perfectly. This is not spectacular but the combination of wood ear and enoki gave contrasting texture and subtle flavors. The best thing is that I used up both sets of mushrooms.

Tuesday, February 21, 2023

Fastnacht Cake Version 3 ファストナハトケーキ V3

Since “Fastnacht” day (“Fat Tuesday”) is approaching, my wife made a new and improved version of “Fastnacht” cake. This one is made with Japanese sweet potato (satsuma imo サツマイモ), is double layered with “rivels” between the layers and on the top and as an additional innovation my wife added; a medley of dried fruit.


The “rivel” layer is difficult to see but it is there as is the dried fruit.


Ingredients: My wife will tell what she did to make the cake (makes two round 8 inch cake/bread)
1/2 cup warm mashed sweet potato (please note the original recipe specifies HOT)
1 1/2 cup buttermilk
1/2 cup butter
1 egg
1/2 cup sugar
2 tsp. salt
1/2 tsp. nutmeg
1 pkg active dry yeast
1/4 cup warm water if blooming the yeast
4 cups of AP flour to start, adding more as needed to make velvety dough.
1 cup of dried fruit cut into small pieces

Ingredients and directions for rivels (Crumb topping)
Mix together 1/2 cup sugar, 1/2 cup flour and 4 tbs. butter softened until the ingredients are completely combined and look like fine crumbs. (I added the ingredients to a small food processor and processed it until small clumps formed. These rivals were much finer than the ones made by hand.)

Directions:
Put the mashed potatoes into the bowl of a stand mixer. Using a mixing paddle beat in the butter, then the egg and a mixture of sugar, salt and nutmeg. Beat until fluffy. Bloom the yeast in warm water.
Beat the yeast into the potato mixture. Switch to a dough hook and alternately add the flour and milk beating well after each addition. If necessary add more flour to make a soft dough. Knead the dough on a floured surface until smooth and satiny. Spread the dough into a flat square and cover the square with the dried fruit then fold the dough over the fruit and knead until the fruit is well distributed. Put the dough into a greased bowl. Grease the top of the dough, cover and let rise in a warm place until doubled.

Punch down the dough. Since the recipe makes two cakes split the dough into quarters so the rivals can be put into the middle of each cake. Then put 1/4 of the dough in the bottom of the 8 inch pan (#1). Sprinkle on 1/4 of the rivels (#2) and top that layer with another quarter of dough (#3). Do this for both cakes. Brush the tops with melted butter and cover both with the remaining rivels. Let the cakes rise in a warm place for about 30 to 40 minutes while the oven preheats. (This is a variation from the original PA Dutch recipe. It does not call for the second rise; the cakes are cooked immediately after they are put in the pan. I’ve made fastnacht cakes both ways and think the cake made with a second rise is much better. It comes out much thicker and has a lovely tender texture.) Cook in a 400 degree oven for about 20 minutes or until golden brown. Picture (#4) shows the cake as it came out of the oven.


This is a good moist “cake” with a pleasing tender texture. (Although it is known as a cake, that might not be the most accurate nomenclature. It is not a cake in the traditional sense. It is more a mix of a cake and a very soft bread). It is only very slightly sweet. The sweet potato flavor is very subtle but does come through. The middle layer of rivels made with the food processor were much finer than those made by hand and maybe as a result almost disappeared. Nonetheless they added a layer of moist texture. The dried fruit really added and provided a little additional burst of flavor and sweetness. The cooks who wrote the original recipe that appeared in the 1940’s cookbook my wife uses, may not recognize this as the fastnacht cake they knew but as far as I am concerned this is the best version my wife has made yet.

Sunday, February 19, 2023

Bran and Raisin Muffin ブラン、レイズン マフィン

This is another my wife’s baking projects. She’s made almost all the muffins from Nancy Silverton’s “Pastries from La Brea bakery” but somehow missed this bran muffin. Although it appears to be a very healthy muffin high in fibers, don’t let appearances fool you; it is also extremely good. My wife keeps some speciality and whole wheat flours in the freezer (since whole wheat contains oil from the germ which can go rancid if left out).  These frozen flours included bran and whole wheat pastry flour. Although  the bran flour was good, the wheat pastry flour had a best used by date of  2017 (some 6 years past). My wife decided even frozen this flour was too old and did not use it. (She substituted AP flour) in this batch but promptly ordered new bag of the pastry flour from Amazon (#1 in the composite picture below).


Ingredients (made 12 muffins):
2 cups unprocessed bran
1 1/2 cups raisins (one cup rehydrated, the remaining 1/2 cup added to the batter)
1 1/2 cup water (1 cup to rehydrate the raisins, 1/2 cup to go into the batter).
1/2 cup buttermilk
The zest from one orange plus 1 tsp orange flavoring
1/2 cup brown sugar
1/2 cup vegetable oil
1 large egg
1 large egg white (or just 2 eggs, optional)
1/2 cup pastry flour (or AP flour)
1/4 cup whole wheat flour
1 tsp. Baking powder
1 Tsp. Baking soda
1/2 tsp. Kosher salt

Directions:
Toast the bran until it is fragrant. Pour the bran into a bowl add the buttermilk and remaining 1/2 cup of water and stir to combine (#3). Hydrate the raisins in 1 cup of water on the stove until the water has been absorbed, about 15 minutes. Add to a food processor and puree (#2). Add the oil, brown sugar, eggs, and continue pureeing. Put the two flours, baking powder, soda and salt in a bowl. Mix to combine. Add the bran mixture to the flour mixture then add the raisin mixture. Stir until completely blended. Add the remaining raisins. Scoop the batter into muffin tins (#4). Bake in a 350 degree oven for 25 to 30 minutes until the muffins are well browned and firm to the touch.


These muffins are quite moist (thanks to the raisin paste) with a gentle sweetness and has a nice orange flavor (thanks to orange zest). Regardless of the high-fiber or otherwise, this is a darn good muffin perfect for a breakfast. Probably one of our favorites from this cookbook.

Thursday, February 16, 2023

Shrimp and Avocado Croquette エビとアボカドのコロッケ

This is another variation of Japanese potato croquette. I have already posted quite a few variations on this potato theme previously. I got the idea of adding shrimp and avocado to a croquette from watching one of the YouTube episodes. Since my wife had made mashed potatoes when we cooked chicken in the Weber grill a few days ago and we also had a ripe avocado which had to be used quickly, this was a no-brainer. I served this as an appetizer one evening with a side of Tonkatsu sauce. On the cut-surface, you can see pieces of the shrimp and avocado.


Ingredients (this made 9 small croquettes):
6 large shrimp, thawed, shell and vein removed, cut into bite size, salted and sprinkled with sake (#1).
1 ripe avocado, skin and stone removed and cut into bite-size cubes, tossed in juice of a half lemon (#2)
Mashed potatoes (I used the mashed potatoes my wife made (#3). (The amount is uncertain but they were made from 2 russet potatoes wrapped in aluminum foil cooked in the Weber grill when we cooked two small chickens. We ate a small amount of the potatoes with some of the chicken for dinner the night of the barbecue. My wife added butter, cream cheese with onion and chive, and seasoned with salt).
Flour, egg and panko bread crumbs for dredging and breading

Oil (I used peanut oil) for frying.

Directions:
Mix the mashed potatoes, avocado and shrimp (#4)
Portion out the mixture (I used an ice cream scoop) (#5)
With hands wet with water, press and form an oval-shaped disk.
Coat with the flour, egg-water and Panko bread crumbs for frying.
Refrigerate for a few hours before frying (or freeze)* to prevent the croquets from exploding while frying.
Fry for 2-3 minutes each side (#6)
Drain and serve immediately or heat up in a toaster oven after placed in the refrigerator for later consumption.

*I made this twice. The first time, I just refrigerated the mixture for one hour before shallow frying. It was mostly OK but some of the croquettes crust did not remain completely intact. The second time, I froze the breaded croquettes overnight and deep fried them without thawing which produced a much better result.


The contrast of the shrimp’s firm and avocado’s soft and creamy textures makes this croquette very nice. The potatoes served as a nice creamy background for the shrimp and avocado. The breading provided a very satisfying crunch juxtapose to the creamy filling. We really like this croquette.

Monday, February 13, 2023

Tomato and Egg Stir-fry with Wood Ear Mushroom トマトと卵炒め丼 キクラゲ入り

This is another version of “tomato and egg stir-fry”.  I made a few changes to improve this dish. Least of those is the inclusion of fresh wood ear mushrooms we got from “Weee”.  Another change I made was to add potato starch to better coat the tomato with ketchup. I served this on rice for lunch.


Ingredients (for 2 servings): 2-3  Campari tomato, skinned and quartered
1 tbs ketchup
Dash of Sriracha or other hot sauce, optional and to taste
1 tsp “katakuriko” potato starch
1/4 cup fresh or dry rehydrated wood ear mushroom, washed and patted dry using a paper towel, cut into strips and if needed hard attachment part removed
2 eggs, beaten
1/4 tsp ginger root, finely chopped
salt and pepper for seasoning
Olive or vegetable oil

Directions:
Coat the tomato quarters with the ketchup, sriracha, and potato starch.
Heat the oil in frying pan and sauté the ginger and then tomato for 1-2 minutes
Add the wood ear and sauté another minute (despite being patted dry, it does splatter)
Add the egg and let it sit for a few seconds until the bottom is set. Mix and repeat until all eggs are just cooked
Season it with salt and pepper
Serve by itself or over the rice.

We think this version is better. Because of the potato starch, the tomato does not exude too much liquid. The wood ear adds nice crunch and went well with the cooked egg.

Friday, February 10, 2023

New Induction Cooker Compatible Do-nabe IH 対応、銀宝花三島万古焼土鍋

Japanese “Nabe” 鍋 hot pot is a dish that is cooked at the table while you eat.  Classically, a portable butane-canister gas cooker is used with a “Do-nabe”  土鍋 earthen-ware pot. We used to have a butane table top cooker for nabe and sukiyaki すき焼き but because of safety concerns, which mainly stemmed from the age of our canisters and cooker, we looked for an alternative which turned out to be a table-top induction cooker (or the Japanese term is “IH”, short  for induction heater). For this to work, you have to use IH compatible pots and pans. Traditional Japanese nabe earthen-ware pots are certainly not IH compatible. We eventually found an IH compatible nabe from Kinto which worked great. Only complaint (which may not be important to many) is that while the pot worked well it is a very modern-appearing ceramic and does not have the traditional look of nabe. (I missed the homey nostalgic feel of a nabe which just the sight of the traditional design pot can evoke for me.)

Recently, I found an IH compatible nabe which is made of traditional “Banko-ware” 万古焼 pot called “Gipo Hanamishima Banko-yaki pot” 銀宝花三島万古焼土鍋 in an on-line store called “Japanese taste”. This is where we got dried persimmon or “hoshigaki” 干し柿. The “Japanese taste” ships items directly from Japan but it comes relatively quickly*. In any case, we got this “IH compatible do-nabe” pot last year but did not have a chance to use it until now. In the picture below, the left is “Kakomi” IH donabe from Kinto and the right is new Ginpo IH compatible donabe.

*We later learned that this pot is available at Amazon USA.


To make a donabe IH compatible, a magnetic metal disk needs to be present between the induction cooker surface and donabe.  Both these induction compatible donabes took a bit of a different approach.

Kinto donabe has a metal disk embedded into the bottom of pot as seen below. It can be used on gas, induction, and or halogen (electric heating element) cook tops. But not in a microwave oven.


Gipo comes with a stainless steel perforated disk which snaps into the inside bottom of the pot (apparently Ginpo has a patent). There are metal hooks and the inside bottom of the pot is formed to accept and secure this disk. It can be removed for cleaning and using the pot in a microwave. We initially tried it on our old induction cooktop (at least 18 years old which works with our cast iron sukiyaki pot and  Kinto donabe). The Gipo donabe, however, did not work with the old induction cooker. The cooker issued an error message which essentially read “NO-CAN-DO”. I read the instructions that came with the Gipo donabe and found out that it may not be compatible with older IH cookers. Great. Which meant we would be getting a new table top induction cooker to complete the set. It was not too expensive.


The new one is much better; the surface is completely covered with glass and easy to clean and the controls are more advanced. The new cooker worked with the Ginpo donabe. Actually, it boiled the liquid inside much quicker. I assume that because the metal disk is in contact with the liquid.


We enjoyed our nabe dish.  The main protein was cod and oyster. The cod was great. The oysters, however, were a different story. Digression alert: We are having a difficult time getting good oysters, especially Pacific oysters. For this dish we got small (eastern) frozen oyster but they tasted terrible. Luckily they did not ruin the flavor of the rest of the nabe. We ended up throwing out the remainder of the oysters in the package.

The other items in the nabe included nappa cabbage, tofu, diakon, mushrooms (enoki, oyster, shiitake and shimeji). I also added “fu” 麩 gluten cake. I made a broth with dried kelp and a dashi pack and, and for a change, seasoned the simmering liquid with miso (miso, mirin and sake).


Somehow, this new do-nabe is esthetically more pleasing (at least for me) and works great. Since this is a genuine earthen ware pot, you should not keep the contents in the pot over night.