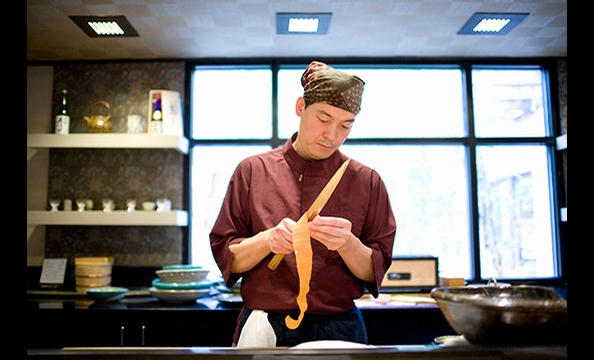
The Dupont Circle area has undergone significant change over the years and is now a very vibrant neighborhood with numerous good restaurants. It also was my wife's old stomping grounds. This Japanese restaurant, Sushi Taro, used to be your usual run-of-the mill sushi bar/ tempura place. It occupies the second floor of an unassuming brown square building at the corner of 17th and P, with a CVS Drug store on the ground level. Last year it went though a major renovation, when the old owner's son, Nobu Yamazaki (pictured below), took over. He transformed the place into a high-end Kaiseki and Omakase Japanese restaurant. We went to the old Sushi Taro a few times and were not particularly impressed. It was a very ordinary sushi bar. After this drastic transformation, however, we have been back three times; twice for sushi omakase and once for regular Kaiseki omakase.
Sushi omakase takes place in a room, separated from the main dining area, with a light-colored wood counter which only seats 6, Nobu himself and Chef de cuisin Masa Kitayama are behind the counter, where the cooking area is rather large with a charcoal burning
Konro grill (exactly the same as the one we have) in the back counter in front of a picture window overlooking a stand of bamboo. The setting is very similar to
a high-end sushi bar in Japan as described by Jon. The atmosphere is very intimate and quiet. With capacity for only six customers, the customers have the complete attention of the chefs. The night we were there only 4 customers, including ourselves, were in attendance. This time we feasted for over 3 hours with 12 courses--and this is not counting each individual piece of sashimi and sushi. This feast was much more than sushi and sashimi omakase as you will see.
This time we started off with home-made
umeshu 梅酒 aperitif with green plum simmered in syrup or
"kanroni" 青梅の甘露煮, a very nice refreshing start, which was followed by their signature appetizer
Gomadofu 胡麻豆腐 topped with Maine sea urchin, real wasabi (every time wasabi was served, our chef grated a wasabi daikon root with a traditional sharkskin grater--the difference between this
wasabi and the usual fake one from the tube was remarkable). Since it was in season, the next was
Junsai ジュンサイ in sweet vinegar and
yuzu 柚子. Junsai was very fresh with thick gelatinous layers. It matched perfectly with gentle sweet vinegar sauce highlighted with a bright yuzu flavor. (Masa showed us the fresh yuzu they had just received--the very small green kind). We then moved to a simmered dish;
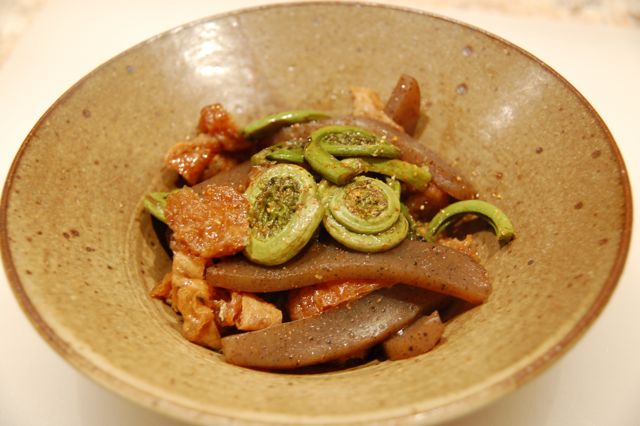
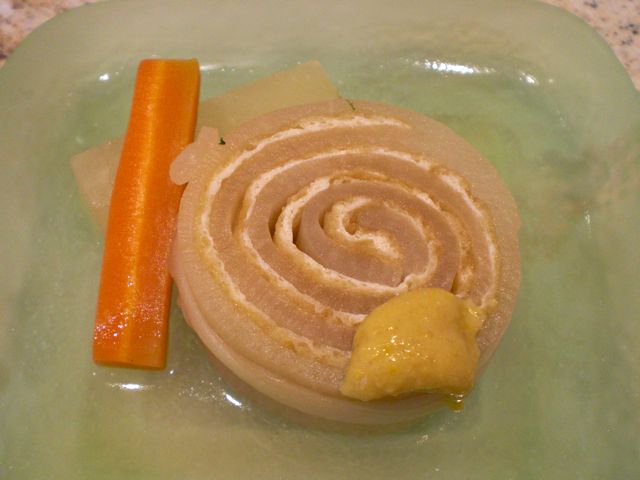
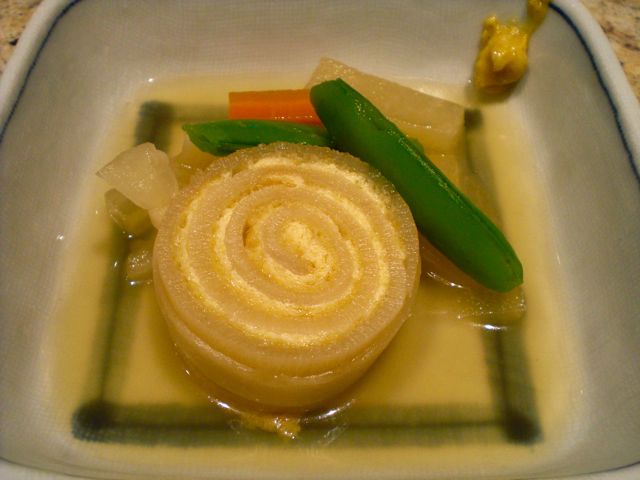
Hiryouzu 飛龍頭 and
shrimp shinjou 海老しんじょう in
yuba 湯葉 sauce. This was a nice comforting dish and well-prepared, if not spectacular. Next came a huge and fresh Pacific oyster (cut into three pieces) from Washington State, Japanese call it Iwagaki oyster 岩牡蛎, on the half shell with a lemon wedge and okinawan salt. This was so good (you may have noticed we are partial to raw oysters). It went so well with the sake we were drinking; a nice fresh ocean taste and, without any special sauce or seasoning, it lingered pleasantly in the mouth for a while. Again seasonality is important here. "
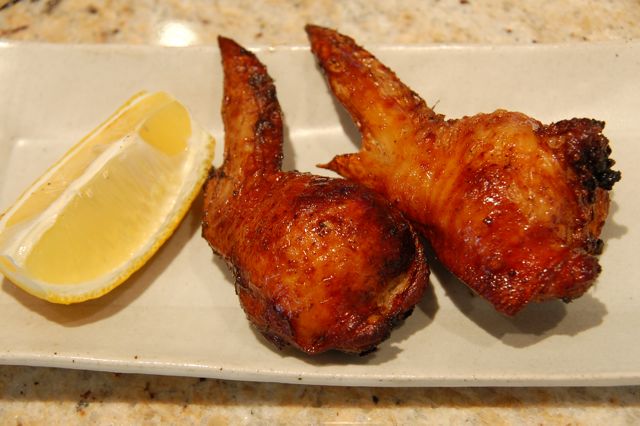
Ayu" 鮎 is in season. Japanese, especially Kyotoites, are very fond of this small fresh water river fish and we had this fish quite a few times in Kyoto. The Ayu which had been marinated very delicately in soy sauce and sake 祐庵地 was served butterflied and grilled 鮎の開き祐庵焼き. I like this rendition much better than the customary "shioyaki"塩焼き or salt grilled, which is usually served on a bed of salt and pine needles. Somewhere between these dishes, we had assorted "Hassun" appetizers 八寸 with 8 small tasty morsels;
kinome-
miso dengaku 木の芽味噌田楽, "
aburana" with yuzu-miso アブラナの柚子味噌和え, lightly marinated
firefly squid 蛍イカの沖漬け, "tamago-dofu" 卵豆腐, a small savory egg custard square with
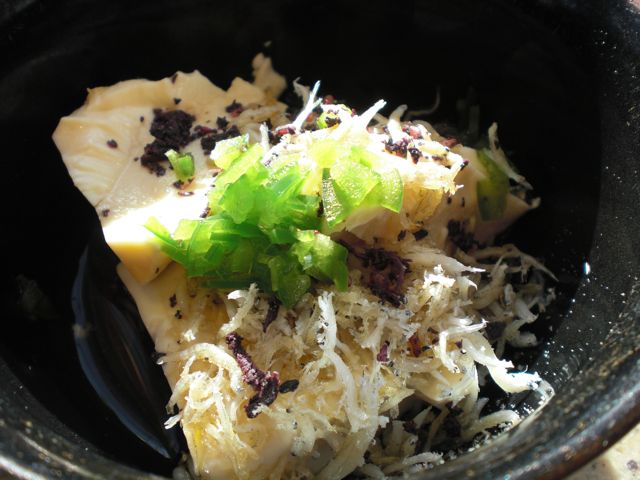
edamame paste, salt-cured
shirako 白子 with vinegard daikon strips, garlic sprouts 芽ニンニク with miso-marinated
Manila clams. All were fantastic. The only slight disappointment being the dengaku due to the quality of the tofu which could have been better. The salt cured "Shirako" or cod sperm sac (which does not sound appetizing) was delicate and tasty.
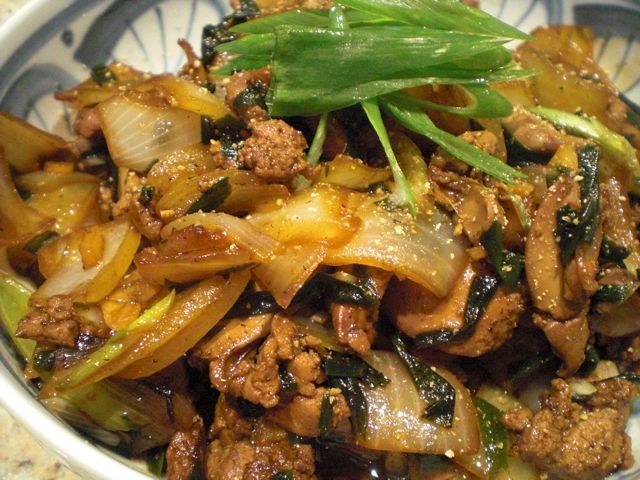
At this point, we were presented with two choices; one was "Lobster"
shabushabu and the other was a Japanese style snapping turtle soup スッポンのお吸い物. Without hesitation, we took the snapping turtle. This was quite a soup; mine had one of the legs and my wife's had nice meaty parts. The broth was very savory. Yet the shimmering liquid in the bowl did not completely cover up the underlying primordial reptilian taste suggestive of mysteriously lurking depths of the pond. This does not taste like a chicken for sure. Since I got the leg, I had to spit out the "nails" as I chowed down.
Since I made the reservation directly with Chef Masa and mentioned that the last time we were there we liked his home-made "
Karasumi" からすみ, he gave us a small slice of that dreaded
"Funazushi" フナ寿司 which was marinated with sake lee. Marinating in sake lee or "
Sake kasu" 酒粕 made it very palatable (actually good). It had a similar texture and taste to "Karasumi". What a personal service!
Then, we were presented with several square lacquer boxes of today's sashimi items. One box was all "hikarimonoayu" offered as sashimi. We started with a series of sashimi, very small but carefully prepared pieces; tuna around this time of year was less fatty and firm but very tasty. Again, freshly grated wasabi was just so nice. We can not remember every pieces we had but other stand-outs are
"sayori" or needle fish, "Ayu" served two ways (one as is-just salt cured, and the other mixed with salted and preserved ayu innards called "
Uruka" うるか. Ayu innards are cherished for their slightly bitter taste. Uruka definitely added a salty and slight bitter taste but it was a nice combination of tastes. I can not forget the wild white salmon from Alaska. Very tasty. Oh, one more item worth mentioning is, again in season, bonito "katsuo" 鰹 which was lightly grilled on a charcoal fire (Tataki) and served in a separate bowl with grated garlic and ginger; nice meaty slices and very flavourful. I have eaten a great deal of sashimi in my day but somehow this was especially good. Between the sashimi and sushi course we were offered a small delicately done "Sayori tempura" with perilla leaves さよりの天ぷら. At this point we were so full it was an effort to finish the sushi. Masa responded by making the rice ball very small for us and we had 4-5 pieces of yummy sushi.
Finally, we were presented with the desert menu. We picked a Japanese "purin" custard, "kurosatou" or dark sugar (from Okinawa) ice cream. Both were very good but we particularly liked the very delicate Japanese custard.
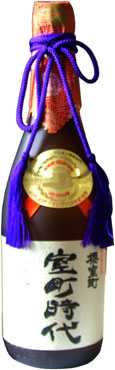
I just want to mention sakes we tasted at Sushi Taro on three occasions. The sake list is not extremely long but quite decent covering from the high-end to moderate. Among the ones we tasted; Muromachi Jidai 室町時代 (Junmai Supreme-Daigijo or Kiwami-daiginjo), Hakkaisan 八海山 (Ginjou), Kubota Hekiju 久保田 蒼寿 (Junmai Daiginjou), Dassai23 獺祭 (Junmai Daiginjo) and Hakuryu 白龍 (Daiginjo). By far, "Muromachi Jidai" is our favorite. Complex yet clean tasting and it is just cut above. Next will be Dassai23. Not as complex but very pleasant and clean. Hakkaisan is a bit too yeasty to our taste. Kubota has some muddy note and Hakuryu is rather simplistic.
In summary,
we really like this place. This is one of the best restaurants we have eaten at both here and in Japan. They serve very traditional carefully created food with a keen sense of seasonality ("Shun" 旬) and the sake selection is quite decent. The only problem for us (if you can even call it a problem for most people) is that we get so full by the end of the feast in both Sushi omakase and regular Kaiseki. It is a bit expensive but a similar class restaurant in Japan will certainly cost much more.

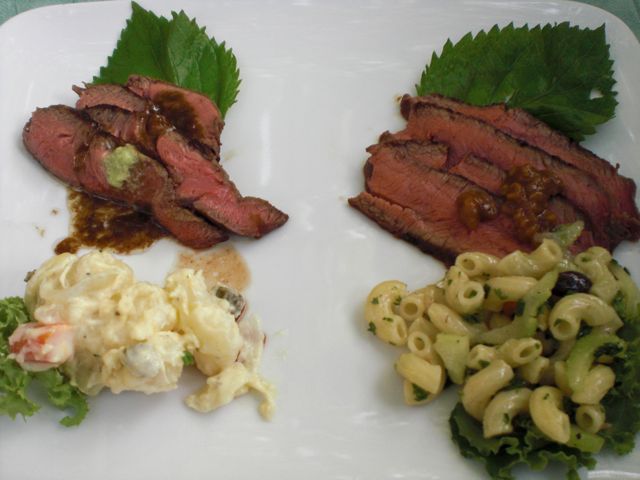
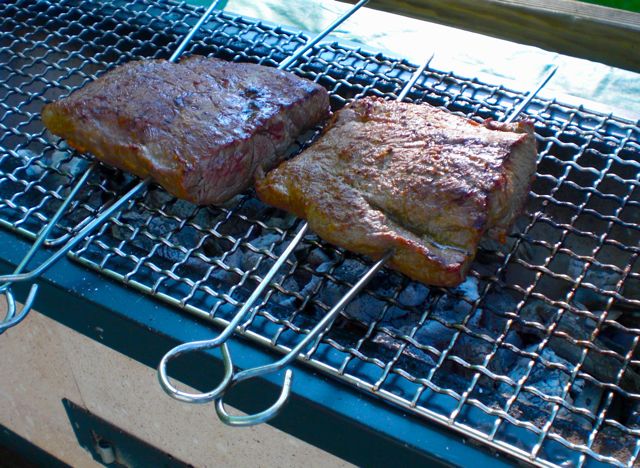
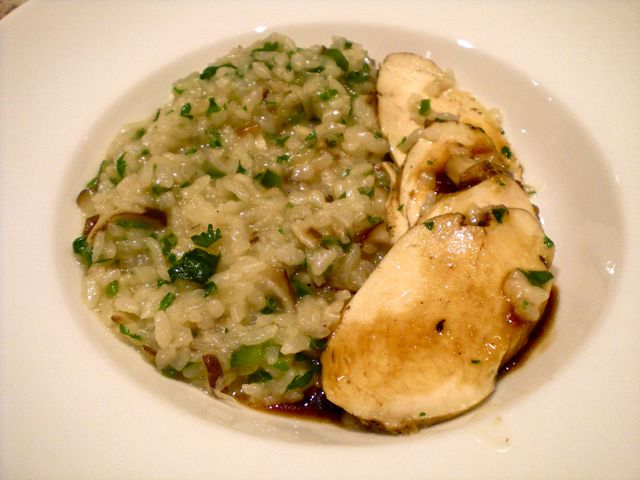
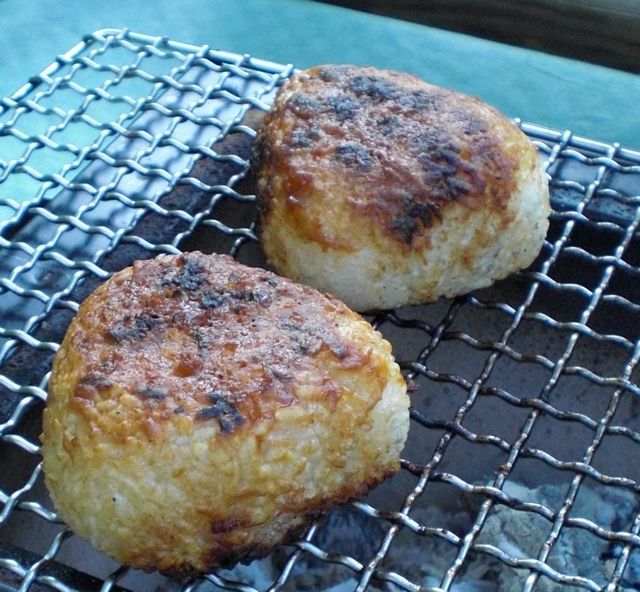 Both are good but we liked the wasabi-soy sauce steak slightly better. We had this with our potato salad and macaroni salad which also have Japanese touches--subjects for posting another time. We also made our usual grilled rice balls, this time with a "yuzu" citrus miso (Yuzu juice from a bottle, miso, mirn and some sugar). My wife said she felt virtuous because despite how very good it was she restrained herself from overeating by not going back for seconds. We had this with an excellent (surprisingly) Bordeaux blend from South Africa, "Vilafonte" 2004. This wine really went well with this dish, highly recommended if you could get one (not too expensive to boot).
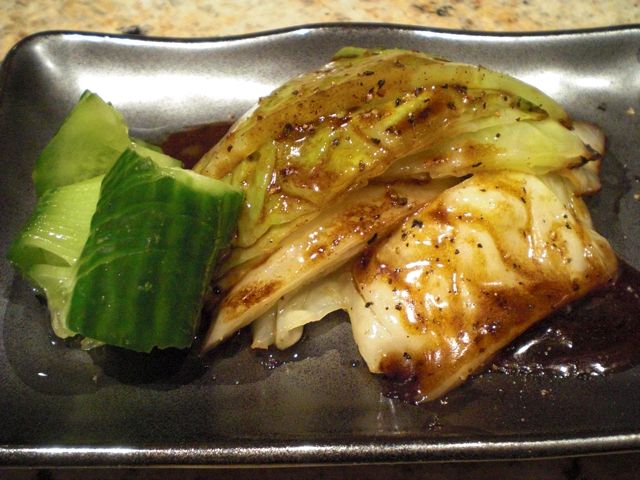


