Sunday, March 10, 2024

Lobster Salad ロブスターサラダ

For the Valentine’s day dinner, we had “Surf-and-Turf” from what we had in the freezer; the meat from a package of several frozen lobster tails (we do not know where we bought them) and frozen filet mignon (from Omaha steak). I initially, thought the lobster tails which were out of the shell were raw and was going to sous vide both the lobster and the steaks. But once we thawed them, it became obvious that the package contained cooked lobster tails and several cooked pieces of claw meat. So the only thing I had to sous vide were the steaks which I then seared and covered with a port wine sauce I made. I sauteed the lobster in butter with fresh tarragon from the inside garden we have at the window and lemon juice. Both the steak and lobster were quite good. Nonetheless there was quite a good amount of lobster left over; about 4 tails and several pieces of claw meat. So, the next evening, I made this lobster salad. This was remarkably good despite the fact the ingredients were pre-cooked, frozen, thawed and cooked again. We added arugula from the window garden and skinned Campari tomatos.


Ingredients:
Cooked lobster tails (about 4) and several pieces of lobster claw meat.
1 tbs unsalted butter 
2 tsp lemon juice

1 Campari tomato, skinned and halved (optional)
Arugula (from the window garden, optional)

Dressing:
1 stalk of celery, strings removed, finely diced
2 tbs mayonnaise
 lemon juice from 1 lemon (I used Meyer lemon) and lemon zest
One scallion, finely chopped and soaked in water for 5-10 minutes, drained and moisture squeezed out
Salt and pepper to taste

Directions:
Mix the ingredients for dressing and set aside
Melt the butter in a frying pan on medium heat
Sauté the lobster for a few minutes until warmed up
Add the lemon juice and remove from the heat and let it cool down for a few minutes
Dress with the dressing and serve with the tomatos and arugula

The cooked and frozen lobster was not of the best quality but this tasted really good. It was a good decision to sauté  the lobster in butter and add lemon juice. The dressing worked well with nice crunchy celery and lemony flavors.

Thursday, March 7, 2024

Salted Oatmeal Cookie

We are a big fan of savory cookies. My wife came across this recipe for “Salted oatmeal cookies” and decided to make it. It turned out this is not quite “savory” but has a nice contrast of salty and sweet and pretty good.


The recipe came from Washington Post.

Ingredients (made 33 small cookies)
12 tablespoons (1 1/2 sticks/170 grams) unsalted butter, softened
1 cup (220 grams) packed light brown sugar 1/2 cup (100 grams) granulated sugar
1 teaspoon baking powder
1/4 teaspoon baking soda
1/4 teaspoon ground cinnamon
2 large eggs
1 teaspoon vanilla extract
2 cups (180 grams) rolled oats (do not use quick-cooking or instant)
1 3/4 cups (219 grams) all-purpose flour Flaky sea salt, for sprinkling

Directions:
Beat the butter in the bowl of a stand mixer or handheld electric mixer for a few minutes on medium-high speed until light and fluffy. Stop to scrape down the sides of the bowl.

Add the brown and granulated sugars, baking powder, baking soda and cinnamon, beating on medium speed until the mixture is well blended. Reduce the speed to medium-low; add the eggs and vanilla extract, mixing until well incorporated.

Reduce the speed to low; add the oats and flour stopping to scrape down the sides of the bowl as needed and mixing just until incorporated. Cover the bowl and refrigerate the dough for at least 1 hour, until needed.

Position a rack in the middle of the oven and preheat to 375 degrees. Line a large sheet pan with parchment paper.

Form the dough into golf ball-size balls and place about 2 inches apart on the prepared sheet. Sprinkle generously with flaky salt (the second picture).

Bake one sheet at a time for about 15 minutes, or until the cookies are puffed and beginning to turn golden, being careful not to overbake. (The cookies should have a tender interior.) Transfer the cookies, still on the parchment paper, to a wire rack to cool completely.


The contrast between the salt and the sweet are what really make these cookies. The out side is crunchy and the inside is soft. As you can see in the picture the oats retain their shape and provide an additional element of crunch.

Monday, March 4, 2024

Instant Pot BBQ Baby Back Ribs バーベキューベイビーバックリブ

Some time ago, we received an Instant Pot as a Christmas gift from my wife’s sister who recommended BBQ baby back ribs cooked in the pot was one of the best dishes she made. We did not have a chance to make it until now. I also made BBQ sauce. This was very good. The meat just slides off the bone and is tender but not mushy. It is a bit sweet to our taste, though. I served this after I removed the bone (picture#1).


The recipe is an amalgamation from several sources.

Ingredients
1 rack of baby back pork ribs membrane removed

Rub:
2 tbs  brown sugar (I should omit this next time)
1 tsp salt
1 tsp black pepper
1 tsp cumin
1 tsp garlic powder
1 tsp onion powder

Rib Pot:
1 cup Water
1/2 cup rice vinegar vinegar (the usual is to use apple cider vinegar)

1/2 cup BBQ Sauce (recipe below)

Directions:
Combine the Rub ingredients in a small dish. Rub on the front and back of the ribs.
Pour Rib Pot ingredients in the bottom of the Instant pot and then place the trivet in the pot.
Place the ribs inside the pot, standing on their side, wrapping around the inside of the pot.
Choose “Stewed meat” which will set the Instant pot to high pressure and 25 minutes. I turned off “Keep warm”. Release the pressure 10 minutes after  the cooking is completed (or let it depressurize naturally)
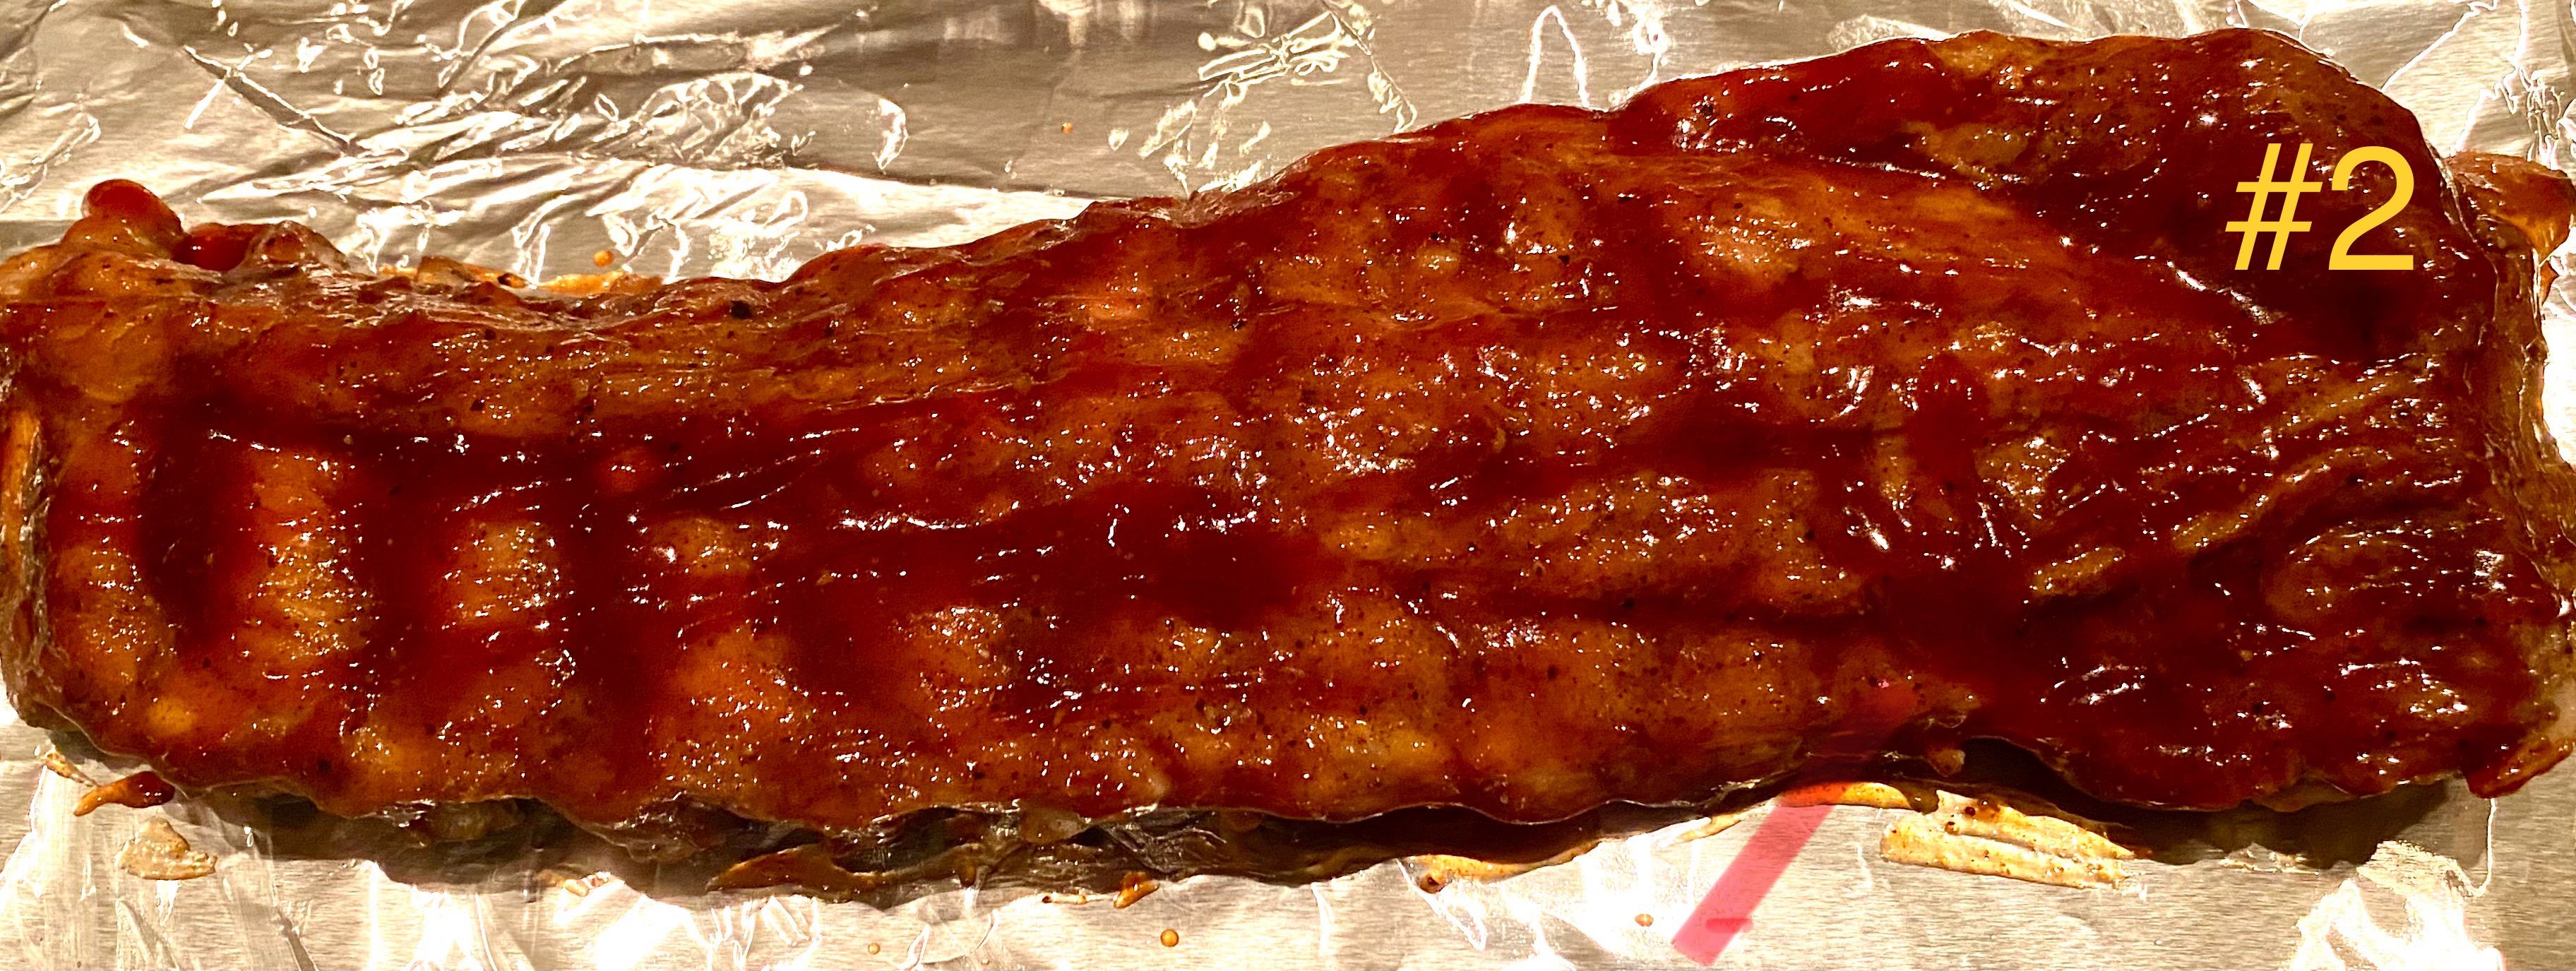
Remove the ribs from the pressure cooker and set on a foil lined baking sheet. Brush with BBQ sauce (picture #2) and set under the broiler until sauce begins to caramelize, about 5 minutes (picture #3).


BBQ Sauce:
Ingredients
1 1/2 cups brown sugar (319.5 grams) packed 1 1/2 cups ketchup (352.5 grams)
1/2 cup apple rice  vinegar (119.29 ml)
1 tablespoon Worcestershire sauce
2 teaspoons paprika
2 teaspoons onion powder 1 teaspoon black pepper
2 teaspoons kosher salt

Directions:
1. Combine all the ingredients in a small sauce pan over medium heat.
2. Bring to a boil. Reduce to a simmer and cook for 15 minutes, stirring occasionally.

The length of the cooking in the Instant pot determine how tender the meat will be. We cooked it for 25 minutes which appears to be just right. It is tender and bone comes out easily but not too mushy. Next time, I will omit the brow sugar form the dry rub and reduce the brown sugar from the BBQ sauce.

Friday, March 1, 2024

“Maitake” Hen of Woods Mushroom in Brown Butter and Sage 焦がしバーターとセージ風味舞茸

We like mushrooms. We used to get fresh mushrooms from Oregon mushrooms (on-line order) and Whole Foods but recently, we have been getting many different kinds of fresh mushrooms from Weee. Besides the usual kinds of mushrooms, we can get from any grocery store, we can get shiitake 椎茸 (Good quality), enoki エノキ, kikurage 木耳 (wood ear), shimeji しめじ, king trumpet, and maitake 舞茸 (hen of woods), and hiratake 平茸  (oyster).We usually get several kinds of mushrooms when we order groceries from them. This time beside the usual shiitake and shimeji, we got maitake. When we had shad roe, I served maitake cooked in brown sage butter as a side which was really great. (My wife may have liked the mushroom more than the shad roe.)


This recipe came from “Foragerchef.com”. The original recipe calls for a large amount of mushrooms. I scaled it down.

Ingredients
One package (35g)  fresh hen of the woods (This was the size of the package I got), separated into a few fronds each in thin, long pieces
2 tbs (or about 40grams) unsalted butter
1 garlic clove finely chopped 
5-6 fresh sage leaves (from our herb garden, I used whole leaves, since they would be easier to remove from the browned butter later)
2 tbs dry white wine (I used sake)
2 tbs chicken stock (our usual Swanson low salt no fat)
1⁄4 teaspoon kosher salt
A few turns of the pepper mill to taste
A squeeze of fresh lemon juice to taste

Directions
In a frying pan with high sides, add the butter and the sage. Heat the butter on medium heat until melted and sizzling and brown bits appear (usual brown butter process). When the butter has reached the desired level of brown, remove the sage leaves. Then add the stock or water, salt, a few turns of fresh pepper from the pepper mill and the mushrooms. Cover with a lid, increase the heat to medium high and cook, stirring occasionally to coat the hens with the pan juices for about 10-15 minutes.

Finishing and serving
Continue cooking the mushrooms until the liquid is gone and there’s only butter. Stir the mushroom to coat with the juices, then taste a piece and adjust the salt as necessary until it tastes good to you.
Cook until the mushrooms have just started to brown lightly on the edges. Turn the heat down a bit. Add the garlic and cook for a minute or two more. Add the wine and the squeeze of lemon, simmer for a minute to cook off the alcohol.

This maitake is very good with sage and brown butter and garlic flavors are nice with the almost meaty texture and flavor of the mushroom. 

Tuesday, February 27, 2024

Pickled Cucumber キュウリの漬物

We really like the pickled daikon which I posted before. I am making it regularly. As I mentioned in the previous post, the marinade contains a good amount of sugar and when I placed the daikon in the marinade, the marinade was basically a slurry i.e. not liquid. It weighed a total of 170 grams (120g sugar 25 gram vinegar, 12 gram sake, 15 gram salt, and 10 gram sake). But after 1-2 days, the moisture extracted from the daikon made the slurry into a liquid. Previously I discarded the marinade after the pickled daikon was finished. But this time I decided to experiment and added several whole American mini-cucumbers into the leftover marinade to see what would happen. After two days, the cucumber looked wrinkled. Nonetheless the result was surprisingly good. The cucumber tasted fresh and had some crunch left but was not raw. Initially I thought it was too sweet but the next day, the sweetness dissipated and just complemented the fresh taste of the cucumber. 


I wanted to see how the marinade changed after I used it for both the diakon and the cucumber. I did this by weighing it. I weighed the marinade both before and after the daikon and cucumbers were done. Before I put in the diakon, the marinade weighed 170 grams. After the diakon had been in the marinade for 2-3 weeks I removed it and weighed the marinade. It was 343 grams; meaning that 173 grams of liquid were extracted from the daikon and replaced in the diakon by the salt and flavoring of the marinade. In essence the moisture extracted from the diakon doubled the total volume of the liquid.  I then added 4 American mini-cucumbers to the 343 grams of marinade and after 1week I removed the cucumber and weighed the marinade. It had increased to 398 grams. (An additional 55 grams of liquid from the cucumbers were added to the marinade). I am not sure how many times I can reuse the marinade like this but it is good to know that I can use it for at least one batch of cucumbers after marinating the diakon and the cucumbers come out nicely. 

Saturday, February 24, 2024

Shad Roe Pasta シャドロウパスタ

This was the second dish we made using shad roe. Since we like “tarako” pasta たらこパスタ (using Japanese udon うどんnoodle), we decide to try “shad roe” pasta. Our version of tarako pasta starts with caramelizing onion and instead of spaghetti, we  use thin udon noodles (“ito-udon” 糸うどん). This time we had a small amount of  leftover shimeji mushroom, so we added it. It is amazing that this dish tasted exactly like one with tarako cod roe. Definitly this is a good dish to make with shad roe. We topped this with thin strips of nori seaweed (“kizami nori”) (picture #1).


Picture #2 is before we added the nori. you can see the roe and shimeji mushroom and caramelized onion.


Ingredients: (2 small servings)
Half sac of shad roe, scraped off from the membrane
Two servings of cooked thin udon noodles
1 onion, cut into thin slices
shimeji mushroom, optional
1 tbs vegetable oil and 1 tsp sesame oil
1 tbs lemon juice

Marinade for shad roe
1 tbs sake
1 tbs x4 concentrated Japanese noodle sauce (or soy sauce)

Directions:
Add the shad roe to the marinade and let it marinate at least 30 minutes or overnight in the refrigerator (#1 in the composite)
Add the oil to a frying pan on low heat, add the onion and caramelize (10-15 minutes)
Add the mushroom and cook for 1-2 minutes and add the cooked noodle (#2 in the composite)
Add the shad roe with the marinade (#3 in the composite)
Mix and cook for 1-2 minutes, taste and if needed add salt (#4)
Off the heat, add the lemon juice and mix
Serve with a garnish of nori strips (picture #1)


This is a good dish and we really like it. Only problem (?) is that we cannot tell the difference between tarako pasta and this dish except the grain of the roe is larger in the shad roe. Both taste good but the difference is negligible. 


Wednesday, February 21, 2024

Simmered Shad Roe with Vegetables シャッドロウの煮付け

I usually make this from “tarako” cod roe たらこの煮付け. Since we got some shad roe, I figured the same recipe should work and tried it. I also added daikon and carrot and garnished with salt broth soaked sugar snap  スナップ豌豆の塩びたし. I served this as a small appetizer dish. It is good but tasted very similar to the tarako version. The vegetables are good as they soaked up the flavor of the broth.


Ingredients:
Half sac of shad roe, roe sac (membrane) cut lengthwise only on one side and then cut across to bite size.
1 tsp ginger root, peeled and julienned
Precooked daikon and carrot (optional)

Cooking liquid
1/2 cup Japanese dashi broth (from dash packs, bonito and kelp)
1 tbs mirin
1-2 tbs x4 Japanese noodle sauce or soy sauce

Directions:
Add the ginger to the cooking liquid and heat up to simmer
Add the roe and gently simmer for 10-15 minutes (roe will “blossom” since one side is still connected to the roe sac membrane)
I also added precooked (boiled) daikon and carrot to the simmering broth

This is a good appetizer dish.