Thursday, December 14, 2023

Butter Swim Biscuit バターに泳ぐビスケット

Previously my wife made butter dip biscuit which may not be good for you but certainly tasted “good”. So when she saw the recipe in the Washington Post called “Butter swim biscuit”,  she had to try it. Is “swimming” in butter better than “dipping” in butter??? They are both basically a form of oven fried bread although butter “swimming” does it on steroids. “swimming” in butter has a soft, moist (absorbing the butter) pleasingly almost spongey center. The bottom and top are very crispy.


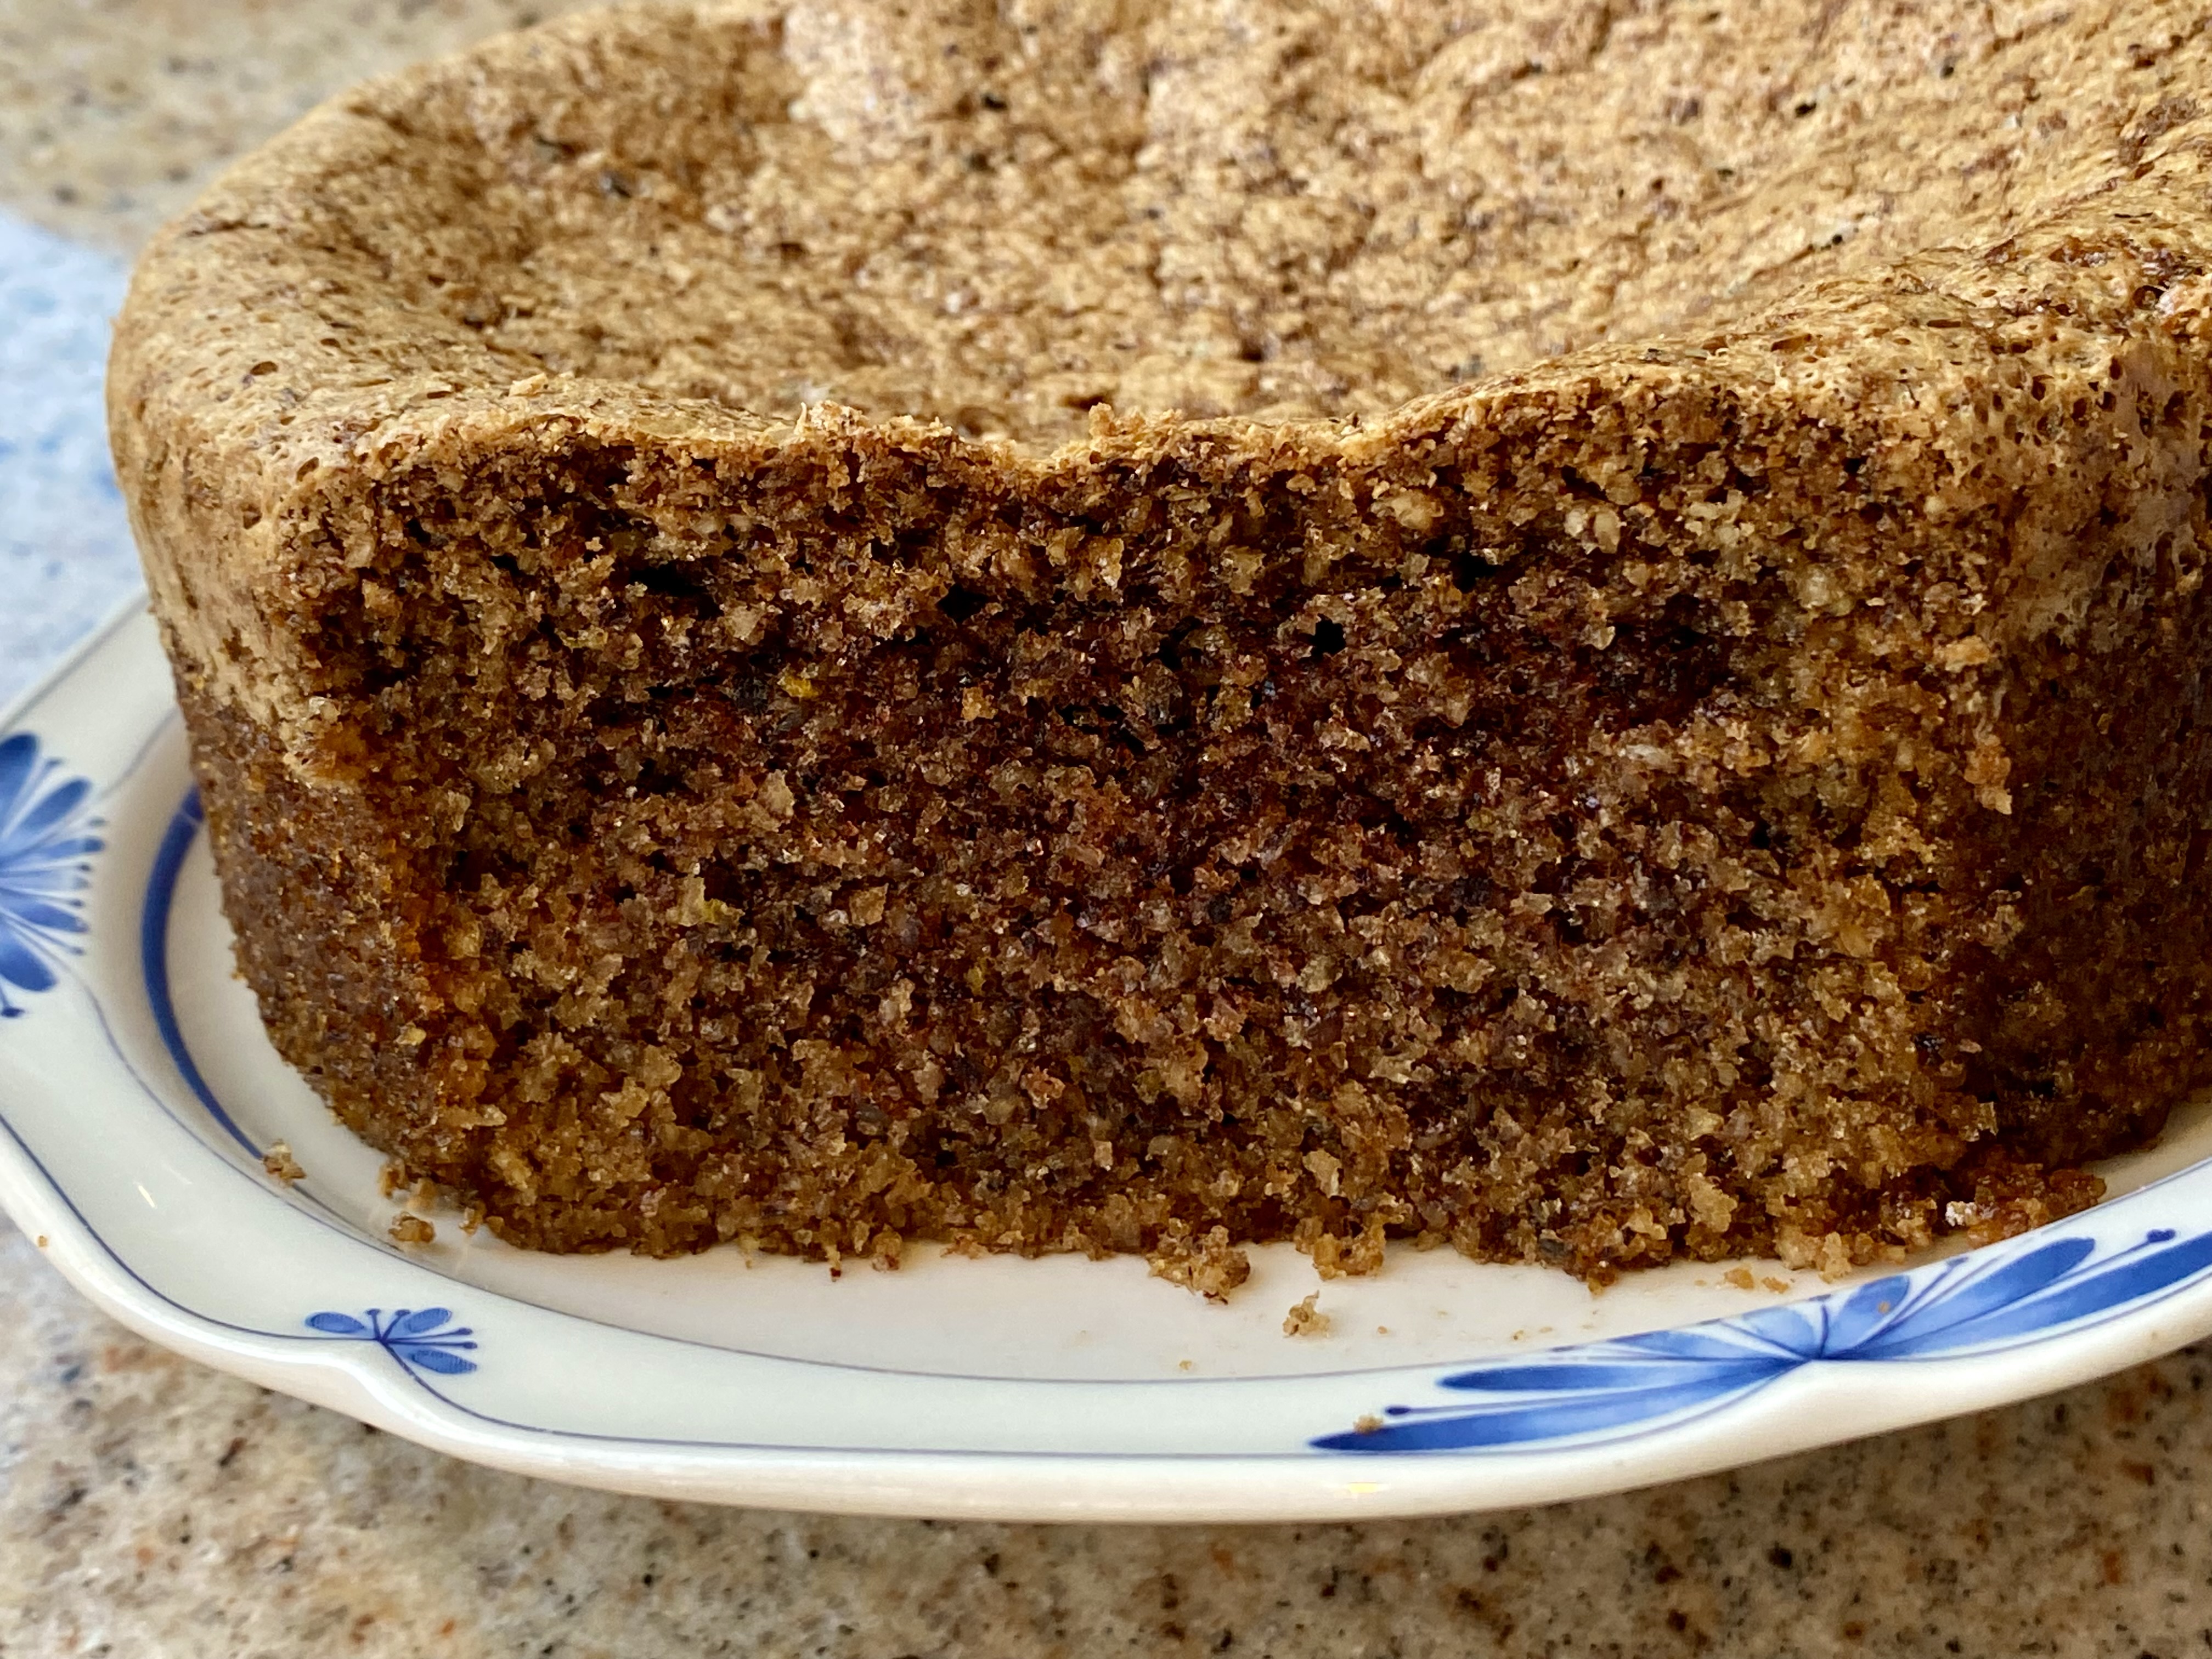
In this close-up of the cut surface, you could appreciated fluffy texture.


As usual, I will ask my wife to take over.

Ingredients
8 tablespoons (1 stick/113 grams) unsalted butter
2 3/4 cups (345 grams) all-purpose flour
4 teaspoons baking powder
1 tablespoon granulated sugar (or more for a sweeter biscuit. I added two Tsp.)
2 teaspoons salt 
2 cups (480 milliliters) well-shaken whole buttermilk

Directions
Position a rack in the middle of the oven and preheat to 450 degrees. Add the butter to a 9-inch square baking dish or cast iron frying pan and place in the oven while it preheats. (We did not have a 9-inch square baking dish so we used a 10 inch cast iron frying pan instead.) (If the oven is very slow to heat up, wait a few minutes to put in the baking dish so the butter doesn’t burn. Just keep an eye on it as it melts.)

In a large bowl, whisk together the flour, baking powder, sugar and salt until combined. Add the buttermilk and stir gently with a spatula just until combined. Do not overmix.

Remove the hot baking dish from the oven and gently pour the batter over the melted butter. Use a knife or offset spatula to spread the batter evenly in the dish (see picture below).

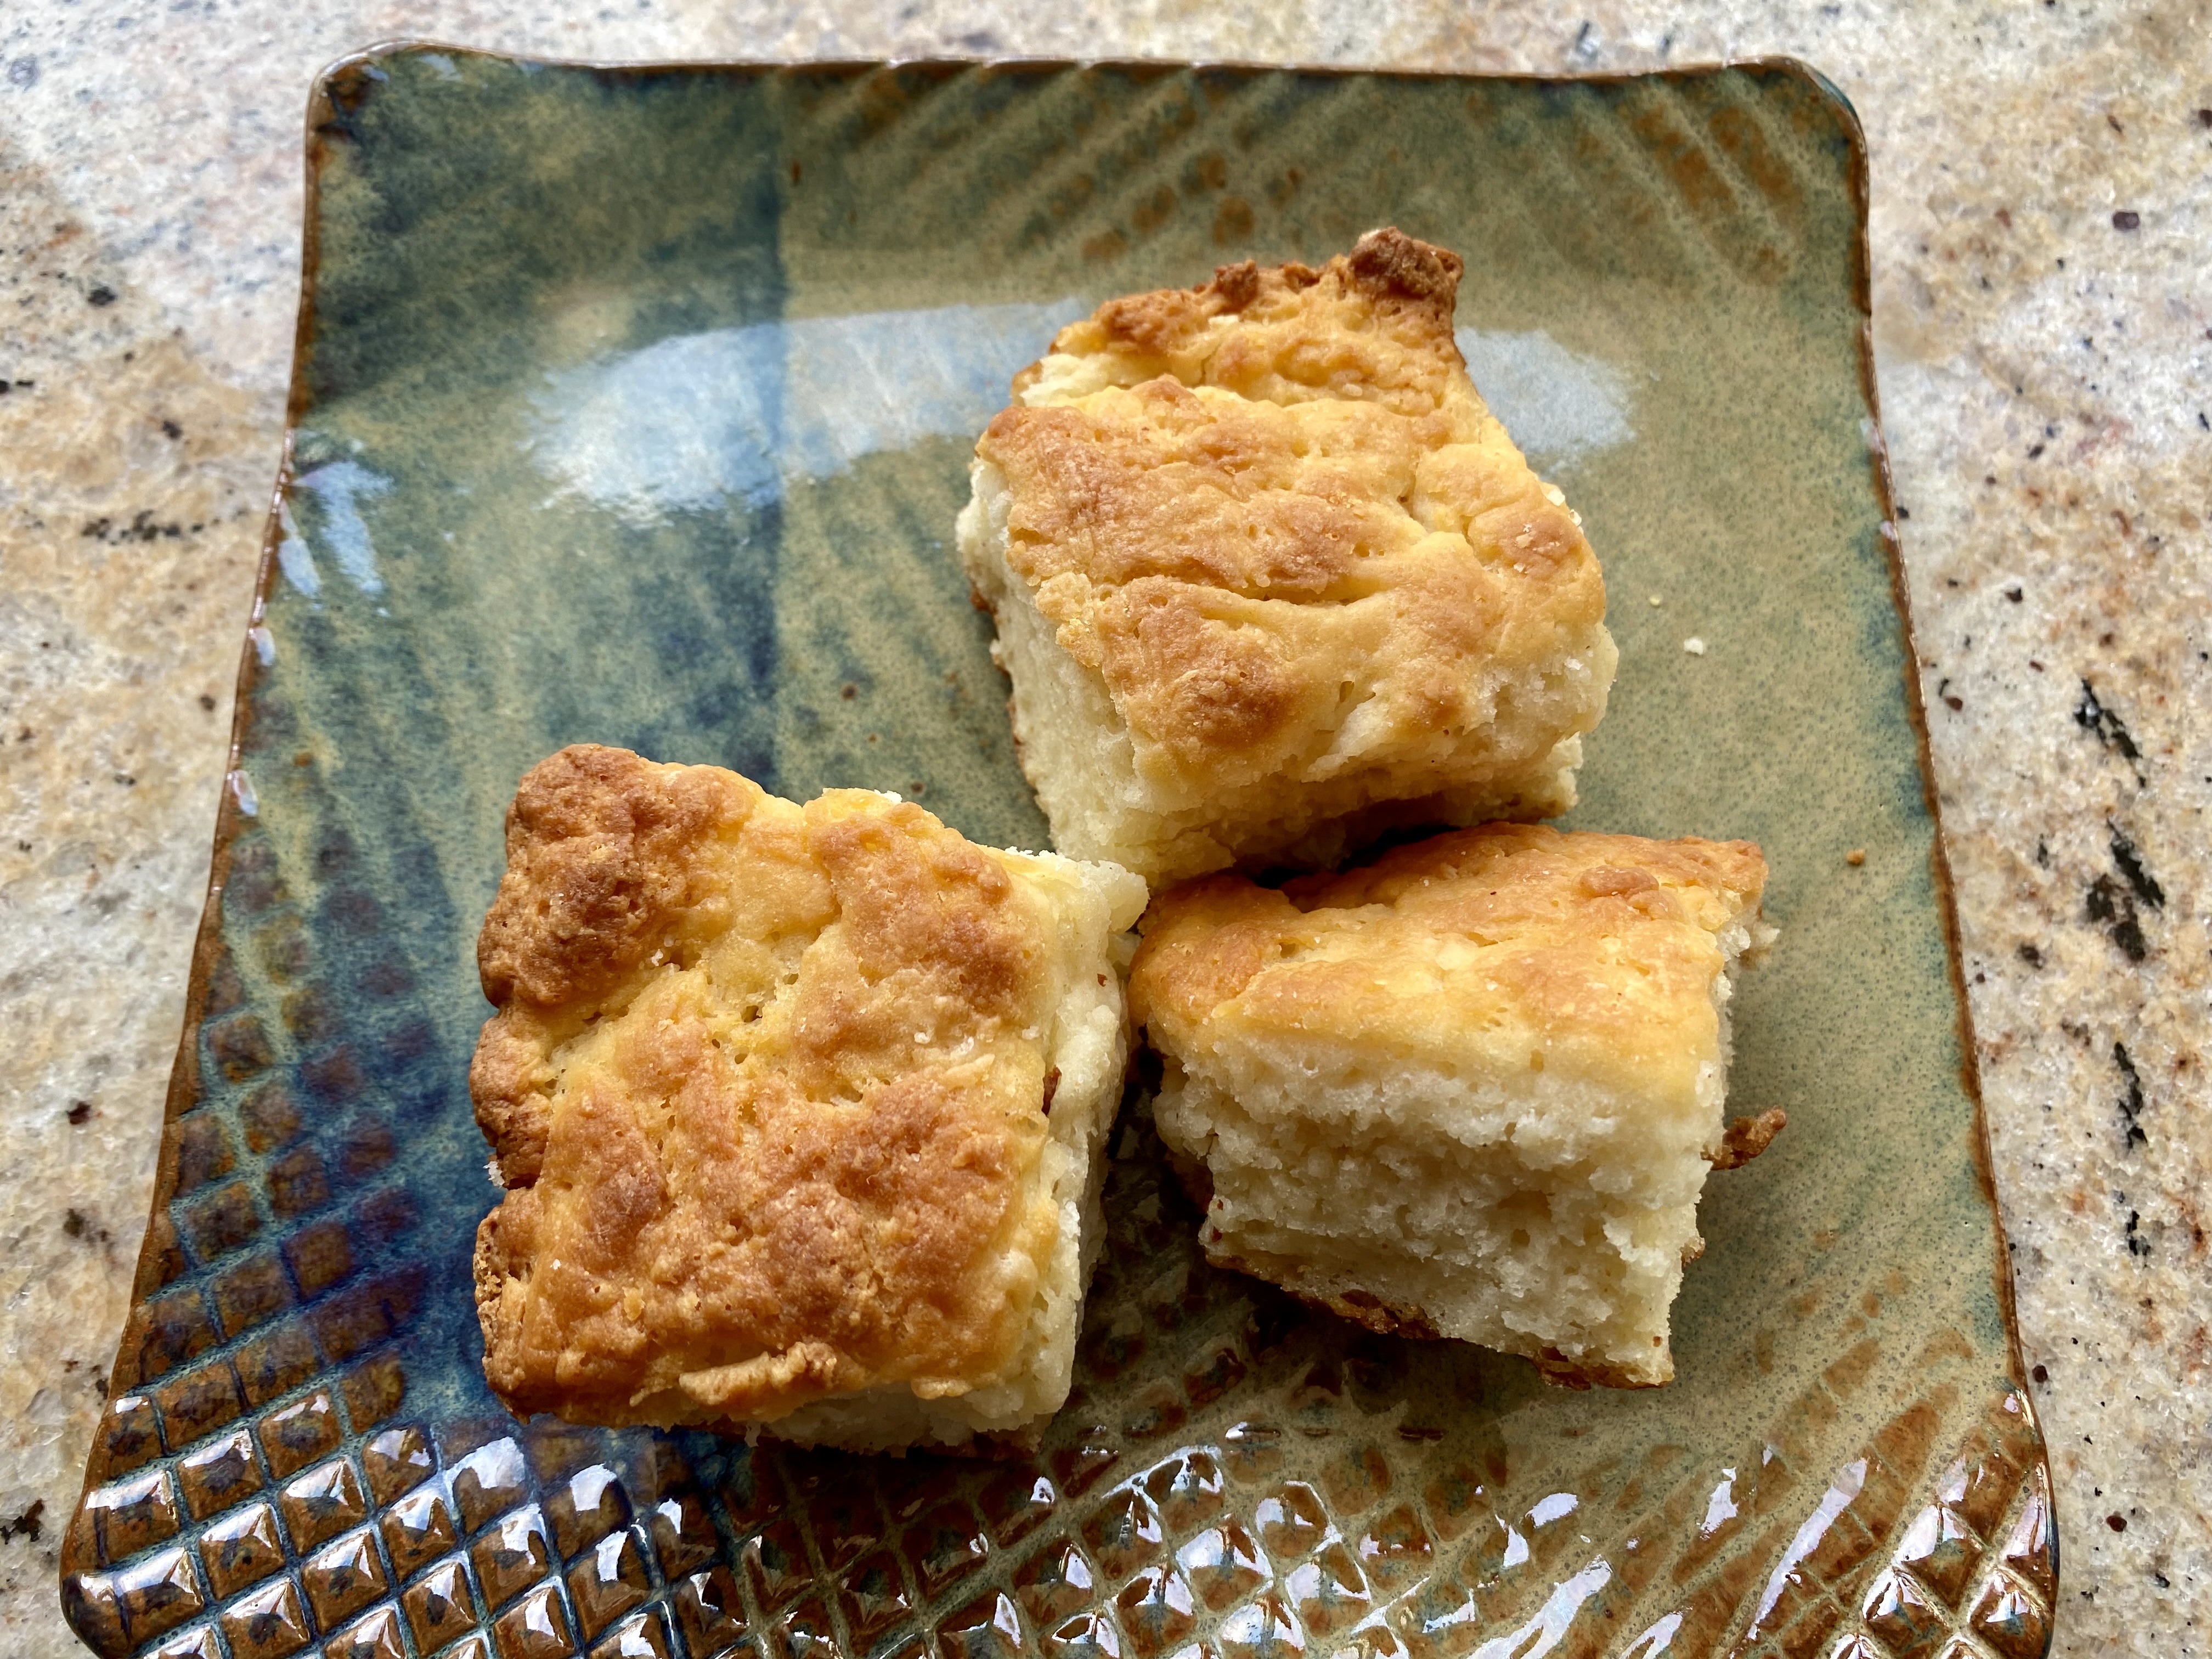
Quickly and confidently, use a knife to “cut” the dough into 9 squares. If the lines close up, go back and take another pass through, though you shouldn’t expect them to remain completely distinct. It can help to wipe or rinse off the knife in between cuts.


Bake for 20 to 25 minutes, rotating the pan halfway through, or until the tops of the biscuits are golden brown and the edges crisp. Following your scored lines, cut and serve.


As can be seen in the pictures above this bread is truly swimming in butter. It would be helpful if there was some way to turn it over half way through cooking because the bottom became almost too high done while the top was not yet brown. Although it is made with a few simple ingredients the flavor is fairly complex. The sweetness of the sugar combines with the taste of the butter, some of which gets browned and there is the pervasive undertone of the sharp taste of the buttermilk. In my humble opinion, both are good but “swimming in butter” is better. My wife said this one is easier to make

Sunday, December 10, 2023

Eggplant, Avocado and Nagaimo Gratin ナスとアボカドの長芋グラタン

I made this dish for lunch one day from what we had on hand and what we need to finish before it went bad. I just winged it without any particular recipe. As a result I was not sure how it would come out but it was certainly edible and quite interesting (in a good way).


The main items are Asian eggplant, avocado and grated nagaimo mixed with an egg (in leu of Béchamel sauce). I also added tomato and shiitake mushroom sautéed with shallot, just because I had them.


Ingredients:
One Asian eggplant (pale purple and long), cut into a bite size by cutting at 45 degree angle as I turned the egg plant (“Rangiri” 乱切り)
One avocado, cut into a bite size pieces similar to the eggplant (I only had half of a leftover avocado).
Nagaimo, about 200grams, peeled and grated
One large egg
3 skinned Campari tomatoes, seeds removed and cut into small cubes
1 tbs of chopped shiitake mushroom and shallot sautéed in olive oil (I made this few says ago mostly from the stems of the shiitake mushrooms)
Cheeses (I used sharp cheddar and parmesan but any melting cheese will do), the amount is arbitrary
2-3 tbs olive oil

Directions:
Sauté the eggplant in 2 tbs of olive oil the skin side down first then brown all other sides (4-5 minutes)
Place the eggplant and the avocado in the bottom of a small Pyrex baking dish.  Add the remaining 1tbs olive oil.
Mix the grated nagaimo and the egg and pour over (see below)


Top with the mushroom mixture, the tomatoes, and the  cheeses and bake for 30 minutes at 350F (I used the toaster oven in convection mode) (see below).


Let it stand for 5 minutes and serve (the first picture).

I was not sure the grated nagaimo and egg ratio but it came out ok. This is a sort of healthy Béchamel sauce substitute. The eggplant and avocado went well together. The next day, we placed the remaining dish in smaller individual ramekins and added a bit more cheese and toasted it in the highest setting. It heated up very nicely.

Thursday, December 7, 2023

Electric Sake Warmer 電気酒燗器

We usually drink sake cold. For drinking sake cold, we like a crisp, clean, and fruity flavor profile of daiginjo 大吟醸. Some junmai 純米 and junmai ginjo 純米吟醸 sakes also have this flavor profile. Our house sake, curretly, is “Tengumai 50 Junmai Daiginjo” 天狗舞純米大吟醸. We enjoy it cold and it has a nice clean, dry,  crisp, and fruity flavor. Now, not going into the details, somehow, by mistake (not mine), we ended up with a case of “Tengumai yamahai-shikomi junmai”天狗舞山廃仕込純米 instead of our favored house sake.  As I mentioned previously this sake has a more savory, yeasty and mushroomy flavor when tasted cold or at room temperature. Then I read that this sake changes its flavor profile if heated. Almost in desperation, we tried it warm (at 120F or “Atsu-kan” 熱燗). We were pleasantly surprised that the flavor profile changed completely and became smooth and mild. We thought “Ah-Ha” the secret is that this sake should be consumed warm which would be particularly appropriate during the winter months when we have dishes like hot pot “nabe” 鍋 dishes, “sukiyaki“ すき焼き, or  “oden” おでん. But the main reason we rarely drink sake warm is that one additional step of warming it up and the difficulty of maintaining the temperature while enjoying it warm.  So, we decided to splurge on an electric sake warmer 電気酒燗器.


We bought it at Amazon but it came from a seller in Japan. The sake warmer sits on top of the heating unit. The server holds about 240ml (1号半). It heats up to the specified temperature in10-15 minutes. The temperature control is continuous (not discreet steps) and ranges from about 35C to 60C (95F to 140F). Using my digital thermometer and water, the actual temperatures are higher (by about 5-10F) than it indicated. We usually like “Atsu- kan” *.

*ranges of warm sake temperature
“Jouon” 常温, room temperature 20℃ (68F)
”Hinata kan” 日向燗 sunny side 30℃ (86F)
”Hitohada kan” 人肌燗 skin temperature 35℃ (95F)
”Nuru kan” ぬる燗 luke warm 40℃ (104F)
”Jou kan” 上燗 warm 45℃ (113F)
”Atsu kan” 熱燗 hot 50℃ (122F)

The sake warmer works extremely well. We can have it sitting next to us and as we are enjoying the warm sake, we can add more sake to the server. By the time we are ready for the next serving, the sake has reached the proper temperature. The only challenge is to warm up enough but not too much sake and to consume it at just the peak of time it has been warming. This is because any leftover sake once heated will not be good the next day for example. Also,warming up the sake and keeping it warm more than 1 hour is not good either. In any case, this was a great improvement break through.  We are glad that we can now enjoy Tengumai junmai sake this way. So the mistake which had us end up with a case of tengumai-junmai instead of our favored house sake was indeed a “blessing in disguise”. It introduced us to a sake variation which we now enjoy but would never otherwise thought of trying.

Sunday, December 3, 2023

Hazelnut Olive Oil Cake ヘーゼルナッツ、オリーブオイルケーキ

The other day, while we were grocery shopping at Whole Foods, my wife came back with “Hazelnut meal” and “Coconut flour”. She was obviously very curious about these fancy flours; specifically, what were they used for and what did they taste like? It appears that these nuts meal/flours are mostly used for gluten free (GF) cakes and cookies. In any case, she looked for recipes using that used hazelnut meal and found  this hazelnut olive oil cake recipe. This is a very moist cake with a distinctive hazelnut flavor and also slight olive oil flavor. We really like it and the flavors got better with time.


The cross section shows very moist and succulent interior.


This gluten-free and daily-free (GF, DF) recipe came from an on-line site called the recipetineats. I will ask my wife to take over.

Ingredients
150g / 5oz hazelnut meal (1 3/4 cups firmly packed) (almond meal can be substituted)
1/2 tsp baking soda sifted
Zest of 1 lemon, finely grated (about 2 teaspoons or so)
Pinch of salt
1/2 cup + 1 1/2 tbsp extra-virgin olive oil (medium quality is OK)
1 cup sugar
3 large eggs , at room temperature
2 tsp vanilla extract

Directions
Preheat oven to 340°F. Grease a 20 cm/8" springform pan with olive oil then line with baking paper (parchment paper), then grease the paper. In a medium bowl, mix the hazelnut meal, baking soda, lemon and salt. In a large bowl, beat the olive oil, eggs and sugar for 2 to 3 minutes on speed 7 or 8 until it becomes pale and thick (like pouring cream or runny mayonnaise). Add vanilla and beat on speed one for 10 seconds. Add the Dry ingredients and mix in gently using a rubber spatula. Pour the batter into the prepared pan and bake for 45 minutes. It will puff up dramatically in the oven but it collapses as it cools. Remove from the oven and allow the cake to fully cool in the pan before releasing from the springform pan. This is a rustic cake that has higher edges and a flatter centre.

This cake is very moist and has a lovely slightly sweet nutty hazelnut flavor with a background flavor of olive oil. The olive oil adds to rather than overwhelms the overall experience. Interestingly, although this cake was very good right out of the pan it got better and better with time. The flavors melded together and got richer. This went very well with a morning cappuccino.

Thursday, November 30, 2023

Sweet Potato and Chestnut Rice サツマイモ、栗ご飯

My wife got three relatively small Japanese sweet potatoes or “Satsuma-imo” さつまいも from Whole Foods.  She was vaguely thinking of making sweet potato muffins but the amount was not really enough. I suggested making sweet potato rice instead (I ended up using all three potatoes for three different dishes). Since we also had prepared chestnuts, I made sweet potato chestnut rice. To extend the autumnal theme, I also made miso soup with mushrooms and lily bulb. Since I also made new batches of pickled daikon and “asazuke” 浅漬け cucumber, I served those on the side.


This is a close-up of sweet potato chestnut rice. I sprinkled “goma-shio” ごま塩, a mixture of black sesame and salt.


For the miso soup, I added shimeji しめじand shiitake mushroom along with lily bulb 百合根 which sank to the bottom. We picked the lily bulb up with the chopsticks so they got their place in the photo op.


Ingredients:
2 cups (using the cup came with out rice cooker) of short grain rice (we used “Yumepirica” ゆめぴりかHokkaido rice we got form NY rice factory).
1 inch square kelp
1 Japanese sweet potato, peeled, diced and soaked in cold water
10 prepared chestnuts
1 tbs x4 concentrated “Mentsuyu” Japanese noodle sauce

Directions:
Wash the rice, place it in the rice cooker, add the specified amount of water, add the seasoning, sweet potato and chestnuts and turn on the switch.
When it is done (see below), remove the kelp and gently mix.


This is a very autumnal and nice rice. Nice sweetness from both the sweet potato and the chestnuts with contrasting texture of soft and somewhat crunchy. I just sprinkled the “goma-shio” and my wife, as usual, added butter and soy sauce. The soup also went very well. The nice sweetness and crunchy texture of the lily bulb and mushrooms worked well together. We were also pleased with the daikon tsukemono.

Monday, November 27, 2023

Sweet Potato and Tuna Salad サツマイモとツナのサラダ

This is dish is on the theme of using up a can of tuna. We had one more can of albacore tuna which we bought during the Covid protein shortage, aging in the pantry. The idea for this dish is very similar to the tuna and daikon salad ツナと大根のサラダ but I replaced the daikon with sweet potato. Again mayo saved the canned tuna. This is also a good dish for a small appetizer.


The recipe came from e-recipe.

Ingredients:
1 small Japanese “Satsuma-imo” sweet potato, microwaved for 3-4 minutes until soft in a silicon container, peeled and mashed leaving some small chunks
1 can of tuna
1 tbs mayonnaise
1 tbs Greek yogurt (strained home-made yogurt my wife made)
salt and pepper to taste
chopped parsley

Directions:
Add the tuna and mashed sweet potato in a bowl, add the yogurt and mayo and mix
Season with salt and pepper and mix in chopped parsley.

This is another good dish using canned tuna. It is quite different from the tuna and daikon salad I posted before. The sweet potato has nice soft texture and sweet taste which went very well with tuna containing dressing.

Friday, November 24, 2023

Kabocha Squash Cookies

Recently we got a kabocha かぼちゃ (Japanese) squash by the grocery delivery which was quite large. I made simmered “Kabocha” and potage but still half remained. Since it was near halloween, pumpkin recipes were appearing everywhere. My wife found a recipe for pumpkin/buttercup squash cookies on the Washington post web site.  She thought since buttercup squash and Kabocha are close squash relatives this recipe may be a good way to use up the remaining Kabocha. Also, we were both curious as to how a squash could be used to make a cookie. The picture below shows the 3 variations of the cookies my wife made. As suggested by the original recipe there were 3 coatings: cinnamon sugar (upper left), pine nut (upper right) and  toasted coconut (bottom). These were surprisingly good. They were just bite sized and somewhere between a cake and cookie.


Ingredients
1/2 cup flesh from cooked/roasted winter squash* (may substitute yam, sugar pumpkin or sweet potato. We substituted kabocha squash)
1 large egg yolk, lightly beaten
1 1/2 cups almond meal/flour, or more as needed
3/4 cup sugar
1 teaspoon vanilla extract
Finely grated zest of 1 lemon
Pine nuts, for coating (optional)
Shredded coconut, for coating (sweetened or unsweetened; optional)
1/4 cup sugar plus 1/4 teaspoon ground cinnamon, for coating (optional)

*We used kabocha squash, cooked in a microwave oven and mashed. We further use a ricer to make it smooth.

Ingredients (X2)
1 cup flesh from cooked/roasted winter squash* (may substitute yam, sugar pumpkin or sweet potato. We substituted kabocha squash)
2 large egg yolk, lightly beaten
3 cups almond meal/flour, or more as needed
1 1/2 cup sugar
2 teaspoon vanilla extract
Finely grated zest of 2 lemon
Pine nuts, for coating (optional)
Shredded coconut, for coating (sweetened or unsweetened; optional)
1/4 cup sugar plus 1/4 teaspoon ground cinnamon, for coating (optional)
Sesame seeds for coating (optional).

Directions:
Combine the squash, egg yolk, almond meal/flour, sugar, vanilla extract and lemon zest in a mixing bowl, stirring to form a smooth, very soft dough. Cover and refrigerate for 30 minutes or up to 1 day. If the dough seems too pasty and wet, add a little more almond meal/flour, keeping in mind that the dough will firm up further as it chills.
Preheat the oven to 350 degrees. Line two baking sheets with parchment paper or silicone liners.
Divide the dough into 24 equal portions (about 2 teaspoons), rolling each one into a ball. Before spacing them on the baking sheets at least 1 inch apart, roll some of them in one or more of the coating options listed below. Bake (middle rack) for 15 to 20 minutes, during which time the cookies should not spread much.
Cool completely on the baking sheets before serving or storing.


All three version were very good. The cookie itself is moist and soft with a mild slightly sweet squash/pumpkin flavor. Not quite a typical cookie but very good. And three different coating worked excellently. We really like this cookie.