As you know, eggplant and oil are a good combination.Eggplant parmesan is a good example--the eggplant absorbs a good amount of olive oil while being fried. Of course, modified recipes that try to reduce the amount of oil by baking the eggplant first instead of frying it are also popular.
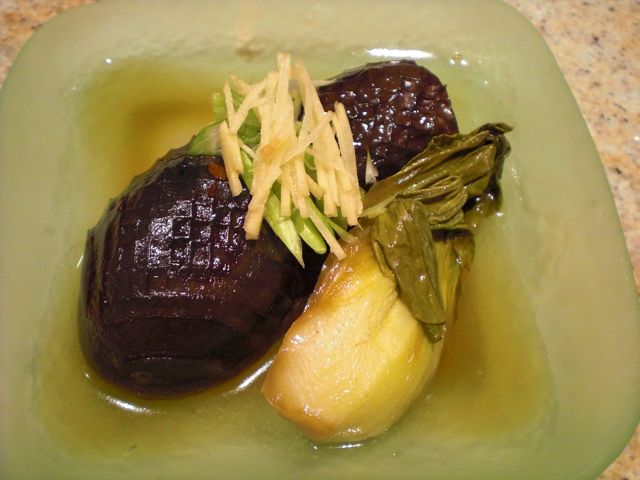 This one tasted the same and was excellent. In addition, it retained a nice color. I added baby bok choy, quartered, cooked for the last 5 minutes in the same broth as the eggplants.
Even in Japan, a classic recipe for stewed eggplant uses a technique called "age-bitashi" 揚げ浸し. The eggplant is first deep fried and then simmered in a seasoning liquid. Although this produces an excellent eggplant dish, eggplants are like a sponge and absorb a large amount of oil. So I made some modifications to take control of the amount of oil. Japanese eggplants (many different kinds of eggplant are available in Japan), are not readily available here. I do not particularly like the long slender and light purple "Asian" or "Chinese" eggplants. So I tend to use either small Italian eggplant or Zebra eggplant for Japanese-style eggplant dishes.
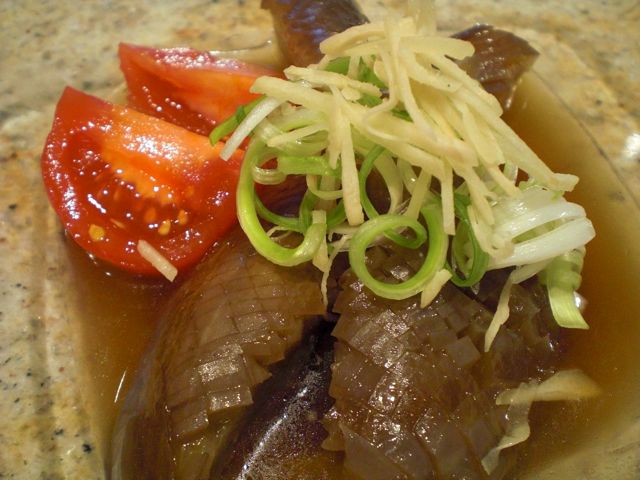
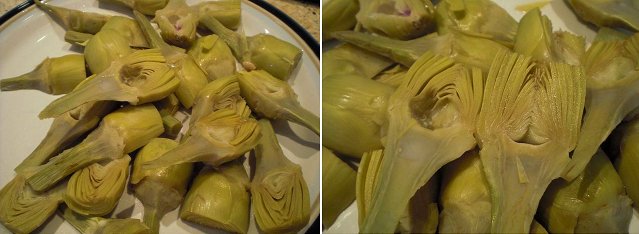
Zebra eggplant version: I saw some nice looking small Zebra eggplants at the store the other day and decided to make this dish.
I used Zebra eggplants (two, medium sized). I removed the stem end and halved them along the long axis. I made criss-cross shallow cuts on the skin and soaked them in water for a few minutes. I removed the moisture using a paper towel by lightly squeezing them. In a skillet large enough to hold 4 halves of the eggplant comfortably, I added light olive oil (2 tbs) and dark sesame oil (1 tsp). On medium flame, I fried the eggplant halves (the cut surfaces only, I did not bother with the skin side) for several minutes until most of the oil was absorbed. In the same pan, I added dashi (300 ml). I made dashi from a Dashi pack, mirin (2 tbs), sake (2 tbs), soy sauce (3 tbs) and sugar (1 tbs). I tasted the seasoning liquid and adjusted the amount of soy sauce and mirin. I also added several thin slices of ginger and a small amount of red pepper flakes for mild heat. I put on an otoshi-buta and simmered it for 30 minutes. I let it cool down in the broth and served it at room temperature with a garnish of scallion threads (shiraga-negi 白髪葱 and very thin juliennes of ginger hari-shouga 針ショウガ (both soaked in water for 10-11 minutes to make them milder). This tasted very good and had just enough oil to make it unctuous. the red pepper gave it a mild but pleasant zing. The meat of the eggplant was very soft and absorbed the nice gentle flavors of the broth and the skin was very tender (because of the scoring before stewing). The next day, I served it cold and it was even better. The only problem was the color, the Zebra pattern was all gone and looked gray and a bit unappetizing.
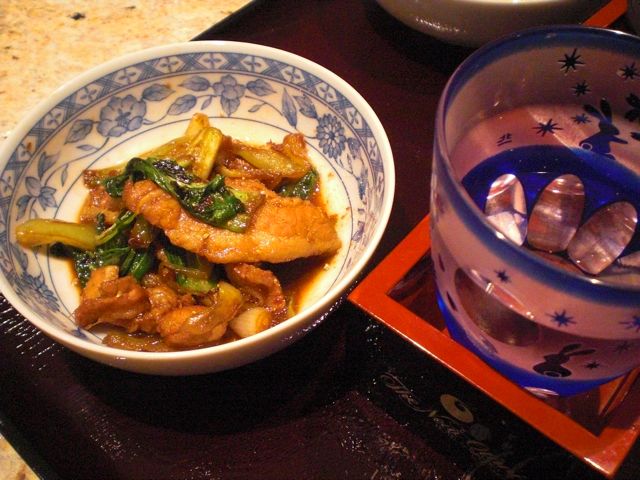
Italian eggplant version: So a few days later I made the dish using small Italian eggplant in the exactly same way.
You could control the amount of oil being absorbed by the eggplants this way but the tastes and texture were as good as a classic deep fried "age-bitashi" eggplant dish. This dish goes well with any drink but, again, we went for cold sake.


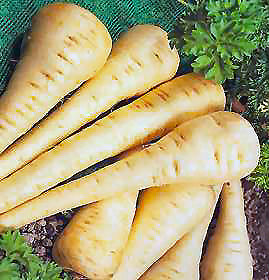 (*Digression Alert!: I did not know this root vegetable until I came to the U.S.. I am not sure this is available in Japan. Parsnip is know as the most favorite food of
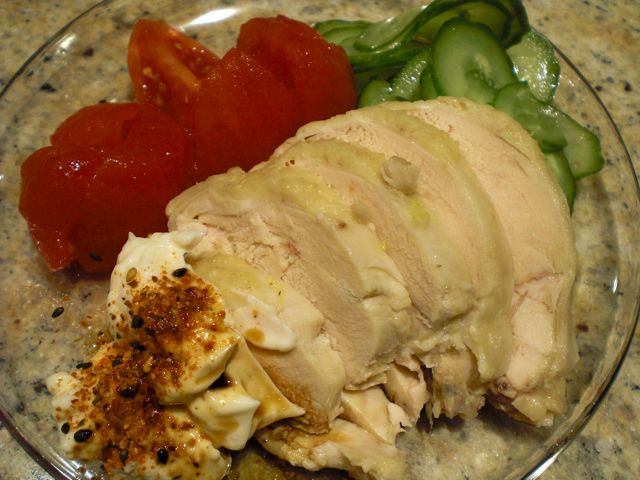
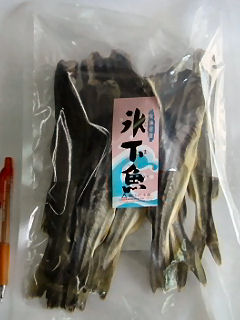 Komai こまい is a small fish which belongs to the cod family. The best season is in the coldest time of the winter in Hokkaido and traditionally fished by a net under the ice (after breaking the surface ice, of course). Thus, the kanji letter for this fish is 氷下魚 meaning under-the-ice fish. This appears to be rather peculiar to Hokkaido and was (at least when I was there) one of the popular drinking snacks in bars and drinking places in Sapporo. This is not unlike