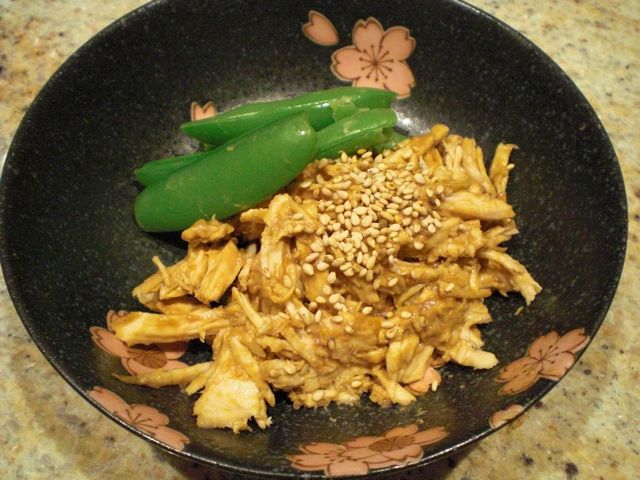
This is another variation on the ever popular bar/Izakaya
chicken wing dish. I bought a package of chicken wings that had six wings in it. I removed the drumetts and used them to make "
curry flavored baked chicken drumetts". I made this dish from the remaining chicken wing tips but we did not eat it immediately. I reheated it the following evening. Although simmering (with or without vegetable) is a rather common Japanese way to cook chicken wings, I have not made this dish. I suggested this dish to my wife several times but my description of it did not elicit an ounce of enthusiasm. So I kept making
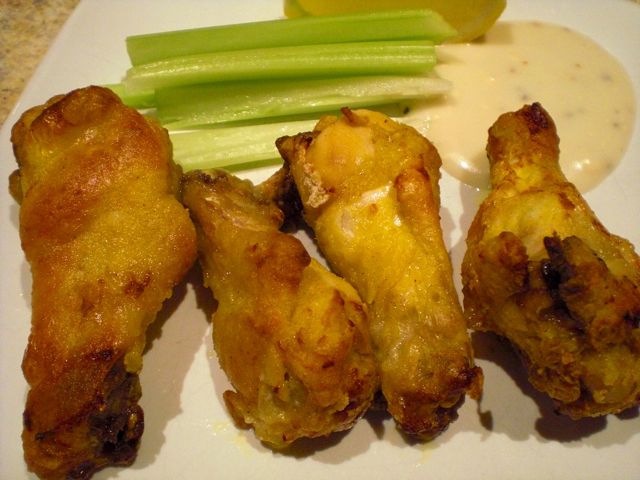
baked,
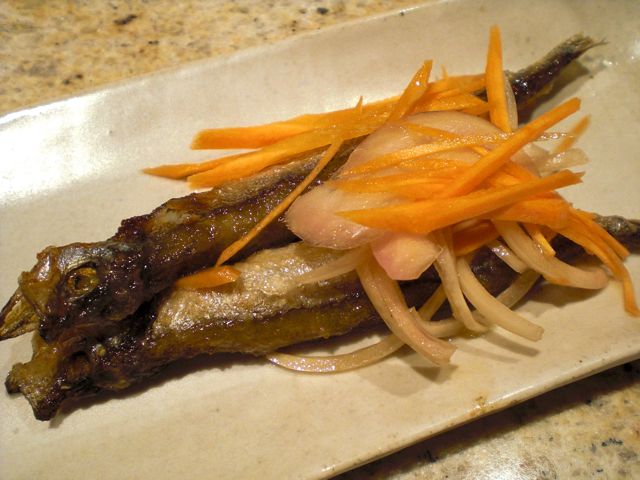
deep dried, or
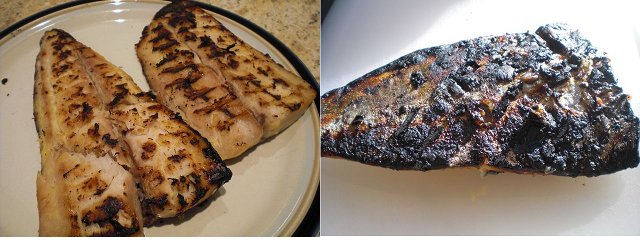
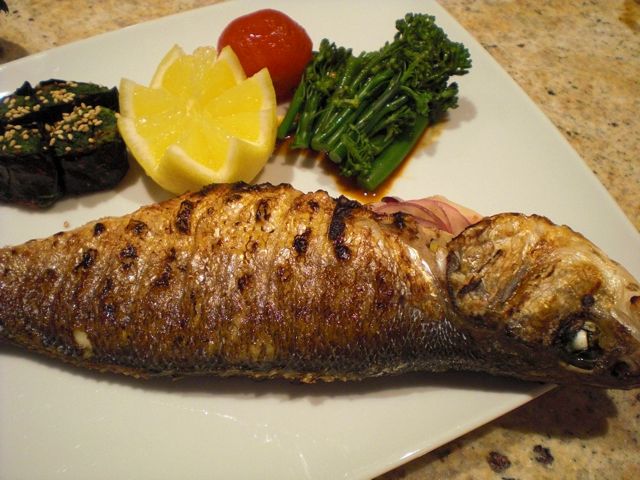
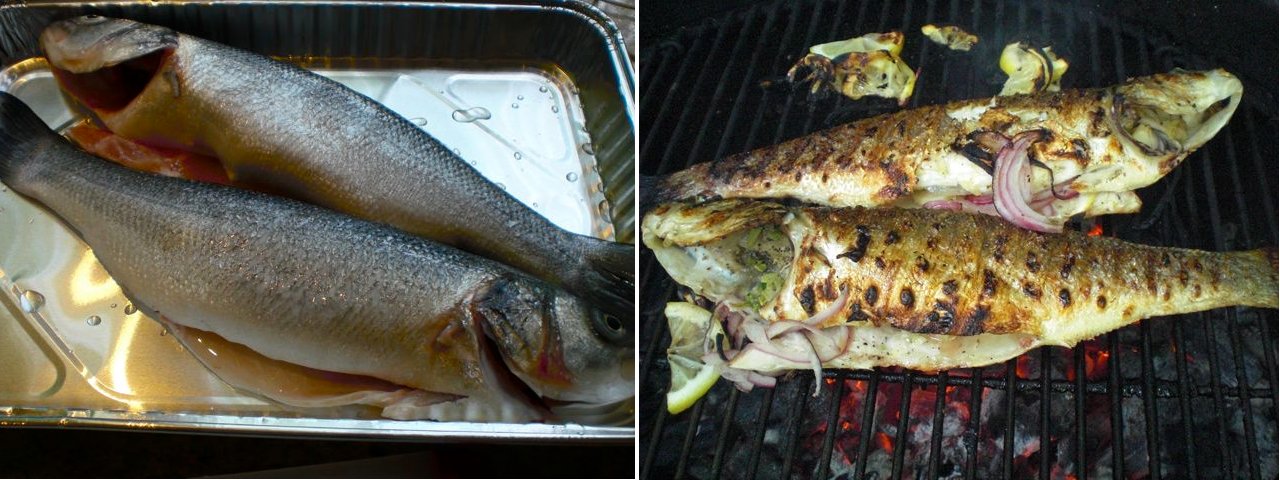
grilled wings with crispy skin instead. This time, I showed my wife the picture from the
Otsumami Yokocho Page 55 and convinced her to try this dish so that I could also blog about it. (I think the blogging ploy is what actually swayed her and she consented to eat the wings if I made them). I did not follow the recipe (for the simmering liquid) in Otsumami Yokocho thinking that it would be way too sweet for us. Instead, I used the same concoction I use to make
poached chicken breast.
This dish is actually rather simple. For two small servings, I used 6 chicken wings after drumetts were removed.
Simmering liquid: Most of the recipes including Otsumami Yokocho's used either sugar or honey but I used mirin instead. I made a mixture of soy sauce, mirin, and
black vinegar (Japanese style lighter kind or you could use regular rice vinegar or balsamic vinegar) (1/4 cup each or in equal amounts). I added ginger (several thin slivers) and garlic (one small clove, crushed).
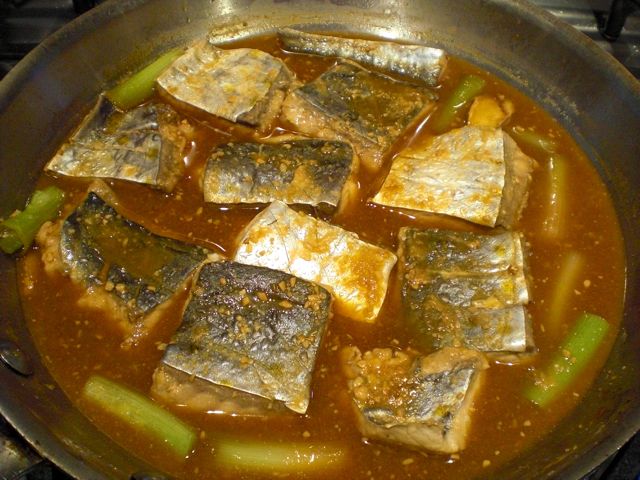
Cooking: In a small pan in which all six wings snugly fit, I poured the simmering liquid. It should just cover the wings. Initially, I put the pan on medium-high flame. As soon as it boiled, I tuned it down to simmer. (If any scrum forms on the surface, skim it off). I put an
otoshi-buta on the pot (Instead of a wooden lid, I used a newly acquired silicon lid called "
pig cooking lid"*) and a regular tight fitting lid on the top. I simmered it for 30 minutes (turning once in the middle). After 30 minutes, I let it cool down to room temperature in the liquid.
*Digression alert: This silicon lid has a face of a pig with two small holes of the nostrils as steam vents and two ears as knobs to hold the lid. Japanese for lid is "futa" 蓋 but when you make a composit word with "Otoshi" meaning "to drop" in front, it will change to "buta"
("f" to "b" which is called "dakuon" 濁音) as in "Otoshi-buta" 落とし蓋. "Buta" 豚 also means "pig" in Japanese. So this is a whimsical "puny" product and works well.
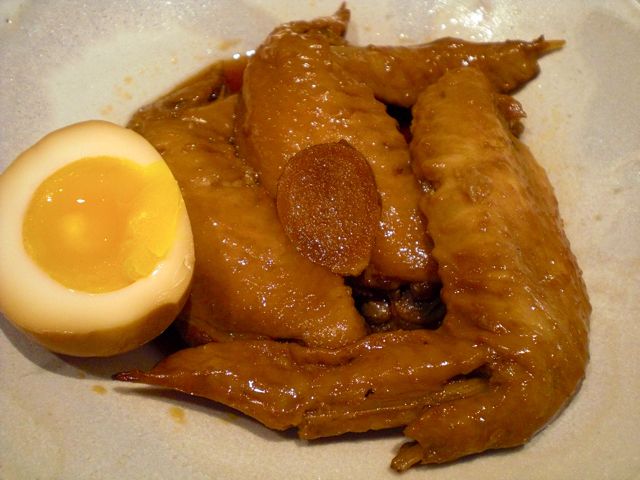
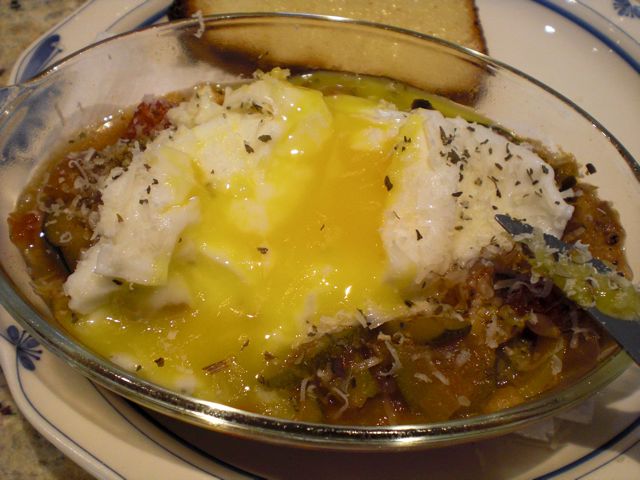
Seasoned eggs: I also made
seasoned eggs or 味付け卵. For this, I simply made soft boiled eggs (cooked for 8 minutes in simmering water). I used
pasteurized eggs since I wanted to keep the yolks still a bit runny. I simply added the boiled eggs (shells off, of course) to the room temperature simmering liquid along with the chicken wings. You could serve the chicken wings and eggs after soaking the eggs in the simmering liquid for 30 minutes or so but I put the pan into the refrigerator at this point to eat it the next day.
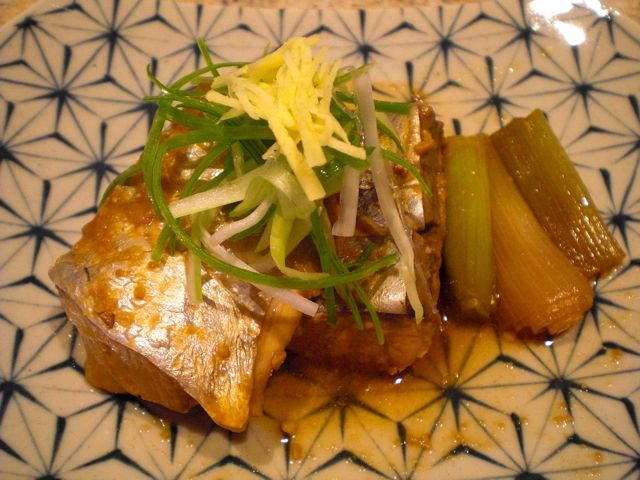
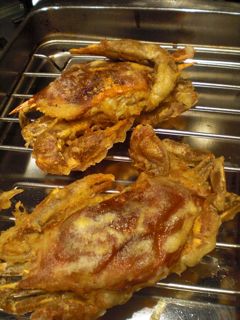
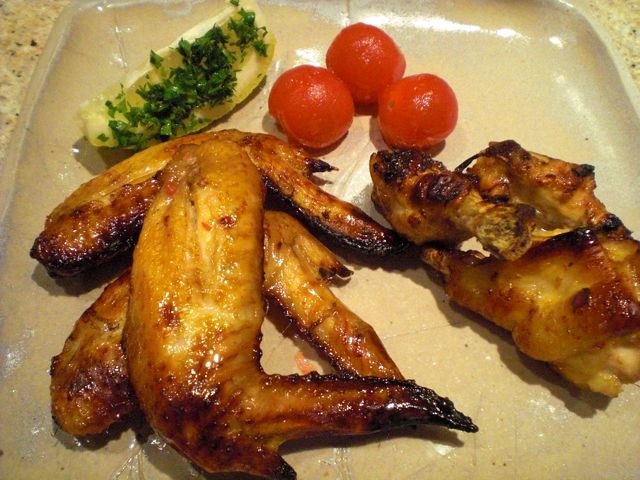
The next evening, when I opened the pot I found that the liquid was completely jelled. This is because of all the collagen and protein that came from the chicken while it simmered. The liquid had become aspic or "nikogori" 煮凝り in the refrigerator. The surface also was thinly covered with chicken fat. Using a spoon, I scraped off all the visible fat from the surface and put the pan on the lowest flame to warm up. It's not necessary to boil it, just gently heat it to make the jelled liquid warm so it melts.
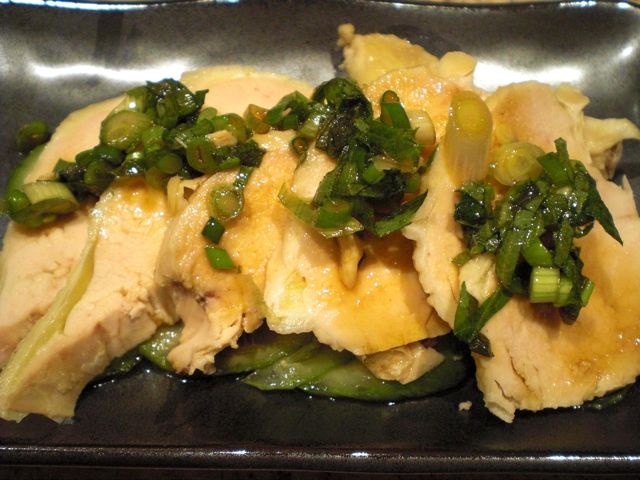
This was a bit messy to eat since you have to use your fingers but it was wonderful. The skin is totally different from the skin of grilled or baked chicken wings. It is very soft, unctuous with a nice smooth texture and taste. As Japanese often say, it has a lots of collagen and your skin will feel smooth after eating this. The egg was also wonderful (although soaked in seasoning liquid from
pork pot roast may be slightly more flavorful). This also passed the "
Mikey likes it" test with my wife. She expressed a great deal more enthusiasm than when I suggested making the dish. She ate every bit and then asked if there was any more. She suggested I make this dish again and in a much larger quantity. She also suggested I add red (hot) paper flakes (I was not expecting this kind of suggestion from her).
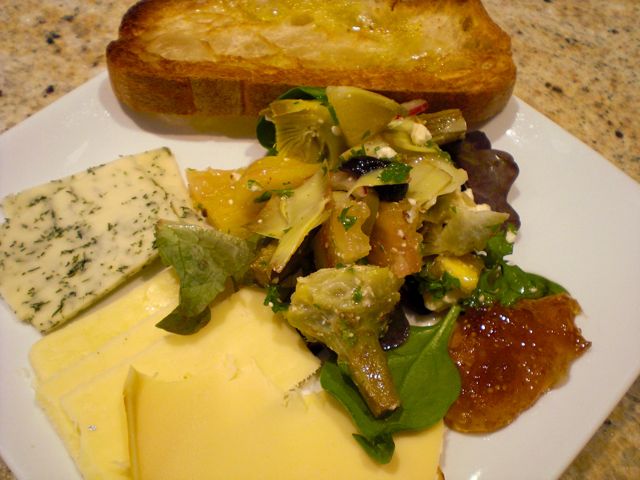
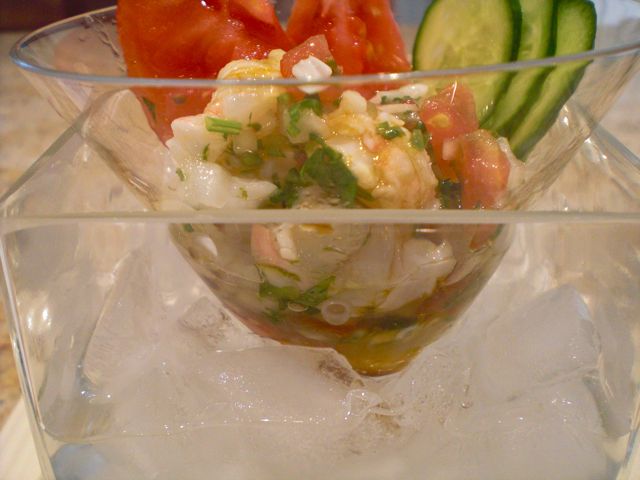
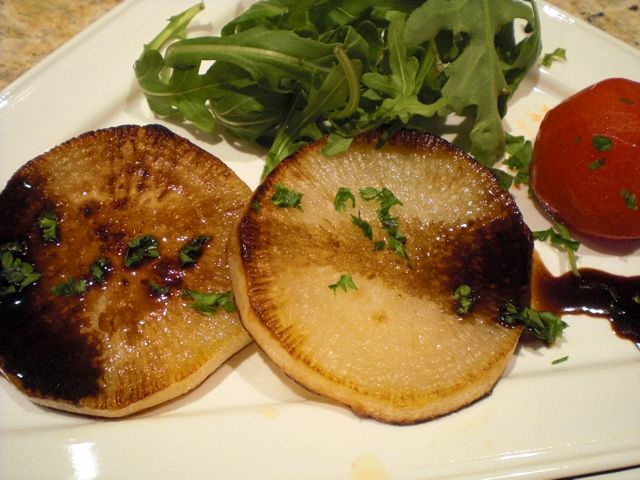
We started this evening with my
potato salad (I used red onion this time) as an otoushi お通し.


 Liquid component: Selzer water (non-sweetened, of course, 1 cup), Vodka (1 cup) and whole egg (one) mixed together.
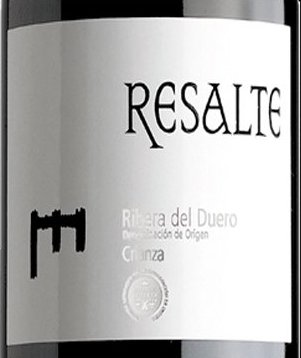 We had this sitting outside on our deck. The wine we had was


