*Digression alert: You can look up description in Wikipedia for “Imo-ni”. My understanding is that this is a stew in Tohoku 東北 northern main land Japan especially in Yamagata. It has more social aspect than just a dish. In autumn, they have a big social gathering/party often outdoor sometimes making a gigantic “nabe” 鍋 which has to be hoisted using a crane. No matter which variations, the-must-have ingredients are “imo” or “potato” specifically “Satoimo 里芋” or taro and beef or pork.
Besides “satoimo” and beef or pork, “kon-nyaku” こんにゃく, “negi” 葱 Tokyo scallion and “gobo” burdock root are the most common ingredients but it appears one can also use carrots and mushrooms.
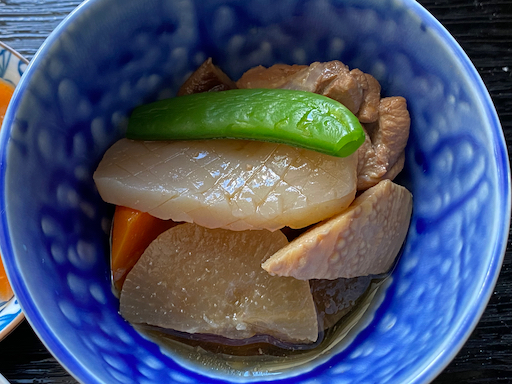
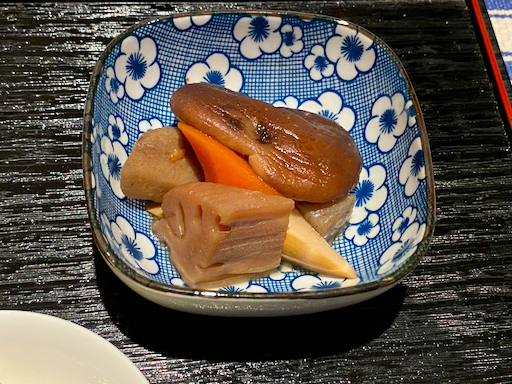
We really liked this dish and it naturally went very well with “Shounan-bijin hiyaoroshi” sake.

I happened to get a fairly large (especially for us) cast iron pot with a cedar lid (picture #2) which is perfect for this dish. This is the first time we used this pot.

I sort of followed a recipe from a NHK cooking program called “Today’s dish” or “Kyou-no-ryori 今日の料理” which is also available on-line.
Ingredients: (makes 6-7 servings)
1 lb satoimo 里芋 (I could have used fresh but I happened to have prepared frozen ones)
1/2 lb thinly sliced beef cut into small strips
1 cake of kon-nyaku コンニャク, hand torn into small bite size pieces, parboiled and drained
1/2 gobo burdock root, skin scraped off using the back of a knife and cut into small strips”sasagaki ささがき (you shave off the “gobo” into the small strips as though you are sharpening a pencil with a knife producing thin strips in the shape of small bamboo leaves). Soak in cold water and drain just before putting into the pot.
2 scallions, cut on the bias
2 large fresh shiitake, cut into a bite size (optional)
Seasonings
2 tbs miso
1 cup sake
2 tbs mirin
6 cups Japanese broth of kelp and bonito (or water)
1-2 tbs soy sauce
Directions:
Cook the beef in the pot (I used a small amount of vegetable oil to prevent sticking).
When the beef is cooked add the miso and cook for one minute until fragrant.
Take out the miso and beef and set aside
Add the satoimo, kon-nyaku, gobo, mushroom in the pot and add the sake to remove any fond on the bottom of the pot
Add the water (or broth) and simmer for 20 minutes or until the satoimo is cooked through.
Add back the beef (and miso), scallion, mirin and cook 10 more minutes (picture #3)
Add the soy sauce to adjust the seasoning.

We had Shounai-bijin Hiyaoroshi cold with the imo-ni dish. Among the two hiyaoroshi we tried this year, we like this one best. Just for your information, the pin is in the “shounai” region.